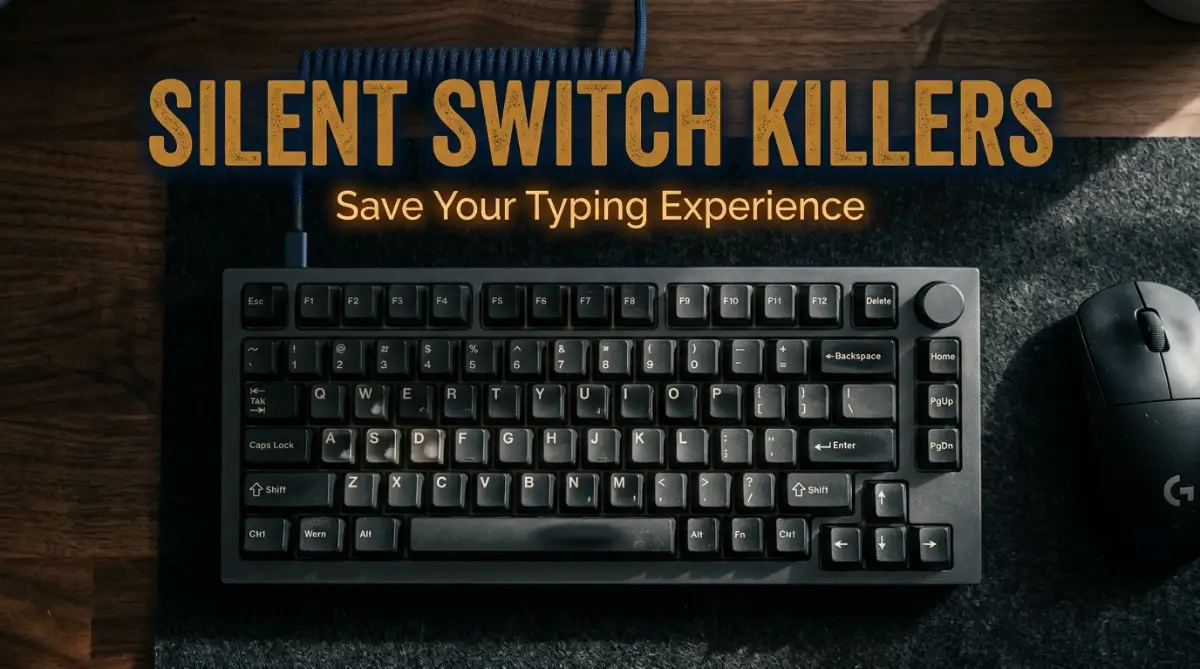
My Expensive Heartbreak: How I Quietly Ruined My Favorite Typing Companion
I still remember the exact moment my favorite custom mechanical keyboard gave up on me.
I was in the middle of typing a highly important document when the spacebar suddenly felt weirdly mushy. At first, I ignored it, thinking it was just my imagination acting up.
But then, the "E" key started double-typing, and the crisp, satisfying sound I loved so much turned into a horrible scratchy noise. My heart sank completely because I had spent a significant amount of money building this specific board.
I always thought I took great care of my things. I never spilled water on my desk, and I wiped the keycaps with a cloth every single week.
So, what exactly went wrong?
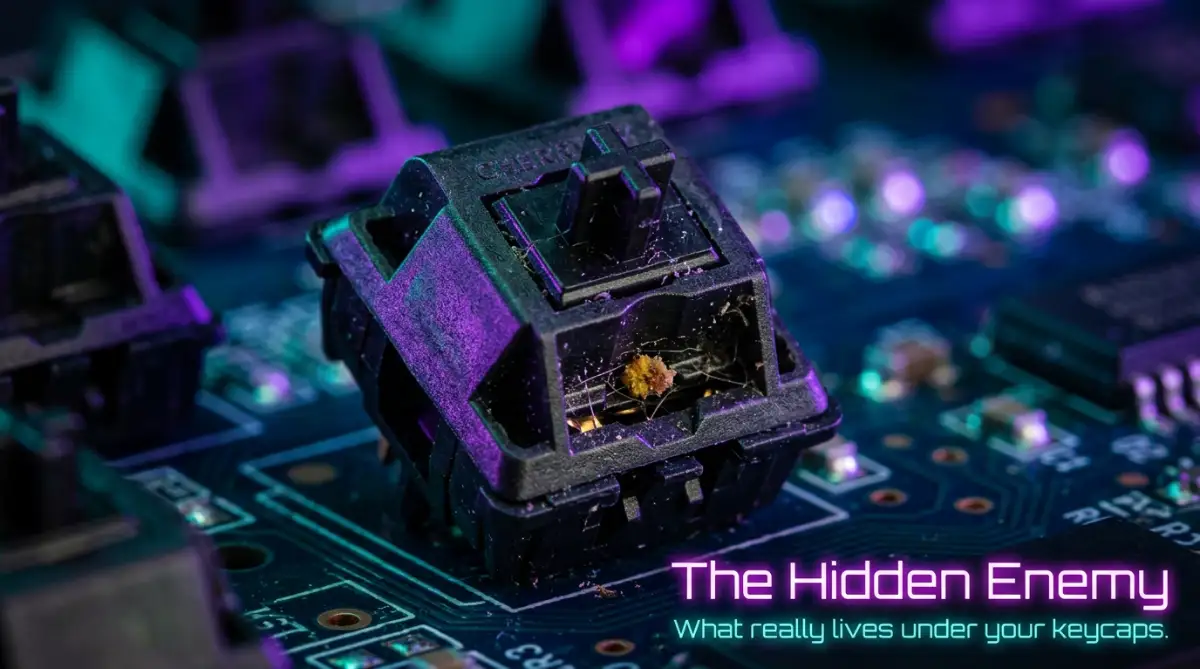
It took me a few days of deep research and tearing my keyboard apart to realize the painful truth. I was unknowingly doing things every single day that were slowly killing my switches from the inside out.
These are the silent habits we all have. We eat our favorite snacks while watching videos, completely ignoring the microscopic crumbs falling between the gaps.
We type with heavy hands when we feel stressed, slamming the plastic stems against the housing without a second thought. Over time, these tiny actions pile up and create a massive problem for our gaming and typing gear.
It messes with your daily peace of mind in ways you might not expect right away. You sit down for a relaxing gaming session, only to miss a perfect jump because your switch got stuck at the worst possible moment.
You try to write a thoughtful email, but you end up spending half your time hitting the backspace key to fix double-registered letters. It is incredibly frustrating to feel your expensive equipment fail you when you need it the most.
The worst part is the constant anxiety of wondering if you need to buy a completely new set of switches. You start doubting your own typing skills, thinking you are making mistakes, when in reality, the hardware is quietly screaming for help.
The Invisible Enemies: Breaking Down the Damage
Now that we understand the frustration, we need to look at the specific actions causing this silent destruction. You might be surprised to find out that the biggest threats to your keyboard are not massive spills or angry fist-slams.
Instead, the real danger comes from completely normal things we do every single day without paying attention. Let us look at these hidden enemies and figure out exactly how they mess up your hardware.
The Midnight Snacking Disaster
We all love eating a quick snack at our desks while finishing up some work or watching a movie. It feels comfortable, but it is an absolute nightmare for mechanical switches.
Even if you are extremely careful, tiny particles of chips, cookies, or bread always find their way down. These crumbs do not just sit on the metal plate; they slowly work their way inside the switch housing itself.
Once a crumb gets inside, it acts exactly like a tiny piece of rough sandpaper. Every single time you press that key, the crumb rubs against the plastic stem and the internal metal leaf.
This constant friction creates that horrible scratchy feeling and completely ruins the smooth travel of the switch. Eventually, it blocks the metal leaf from making a proper connection, which causes those annoying missed inputs.
The Heavy-Handed Hammer Effect
Many of us type with a lot of force, especially when we are rushing to meet a deadline or playing a stressful game. This habit is known as "bottoming out," which means you press the key down so hard that the plastic stem violently hits the bottom of the housing.
Mechanical switches are designed to register a keystroke halfway down the press. You really do not need to slam them all the way to the plastic floor to make them work.
When you constantly bottom out with extreme force, you put an immense amount of stress on the internal metal spring. Over time, the spring loses its natural bounce and becomes weak, making the key feel extremely heavy and slow to return.
I actually made a massive mistake with this a while back. I used to aggressively pound my enter key whenever I sent a finished project to a client. I thought it was a fun habit, but I ended up completely shattering the internal stem of my favorite tactile switch! It taught me a huge lesson about respecting my hardware.
Using the Wrong Cleaning Chemicals
When people finally decide to clean their keyboards, they often grab whatever chemical cleaner they have in their house. This is a massive mistake that causes permanent damage to the plastic materials.
Many household cleaners contain harsh solvents, bleach, or high-concentration rubbing alcohol. While these liquids are great for cleaning glass, they absolutely destroy keyboard plastics and internal factory lubricants.
If these harsh liquids seep into the switch housing, they immediately wash away the smooth oil that keeps the switch gliding. Without that lubrication, the plastic parts grind against each other, creating intense friction and a terrible sound.
Even worse, strong alcohol can actually melt or weaken the thin plastic clips that hold the switch together.
Watch This Quick Demonstration:
Check out this detailed visual guide on how harsh chemicals physically melt switch plastics and learn the safe alternative methods to use instead.
The Danger of Static Dust Attraction
Dust is completely unavoidable in any home or office environment, but your keyboard actually works like a magnet for it. As you type, the friction of your fingers rubbing against the plastic keycaps creates a small amount of static electricity.
This static charge actively pulls floating dust particles right out of the air and traps them between your keys.
If you let this dust sit there for too long, it mixes with the natural oils from your fingers. This creates a thick, sticky grime that slowly drips down into the switch mechanism.
Myth vs. Reality: Keyboard Lifespan
There is a lot of confusing information on the internet about how long a mechanical keyboard should actually last. Let us clear up some of the biggest misunderstandings right now.
The Science of Switch Degradation
To truly protect your gear, you need to understand a little bit about what is happening on a microscopic level. A mechanical switch might look like a simple plastic box, but it is actually a highly precise machine.
Inside that tiny box, there is a plastic stem, a coiled metal spring, and a delicate copper leaf that registers the electrical signal. These parts need to work together with extreme smoothness to give you a good typing experience.
When foreign objects like dust or pet hair enter the housing, they disrupt this delicate balance immediately. The dirt creates tiny micro-scratches on the plastic stem every time it moves up and down.
These micro-scratches permanently alter the surface of the plastic, making it rough and unpleasant. No amount of cleaning can fix plastic that has been physically scratched up over a long period.
Furthermore, the copper leaf inside is incredibly sensitive to any form of moisture or acidic oil. The natural sweat from your fingertips contains small amounts of acid that can slowly corrode this metal.
If this corrosion builds up, the electrical signal will not pass through properly. This is the exact scientific reason why your keyboard suddenly starts registering two letters when you only pressed the key once.
Actionable Prevention and Care Strategies
We have talked a lot about the problems, so now let us focus purely on the best ways to fix them. You do not need to be a tech expert to keep your keyboard running perfectly for a very long time.
All you need is a little bit of patience and a willingness to change a few daily habits. These methods are simple, highly effective, and completely free to start doing today.
Master the Art of the "Hover Snack"
If you absolutely must eat while sitting at your computer, you need to change your physical positioning. Instead of leaning directly over your keyboard, push the keyboard far back on your desk before you open any food.
Create a dedicated "safe zone" for your meals where crumbs cannot physically reach your hardware.
If you are eating something particularly messy, just move away from the desk entirely for five minutes. It gives your eyes a nice break from the screen and guarantees your switches stay completely safe.
Always wipe your hands with a dry towel before you go back to typing. The oils from potato chips are incredibly difficult to remove once they get stuck on your keycaps.
Retrain Your Typing Force
Learning to type with a lighter touch is one of the best things you can do for your keyboard and your own hands. You need to train your brain to recognize the exact moment the key registers, which is usually right in the middle of the press.
Try a simple exercise where you type a full paragraph as softly as humanly possible. Focus entirely on feeling the bump or the click of the switch without hitting the plastic bottom.
This might feel extremely strange for the first few days, but your fingers will quickly adapt to the new rhythm. Not only will this save your internal springs from early fatigue, but it will also make your typing speed much faster.
Your fingers will glide over the keys instead of getting stuck pushing every single one into the floor.
Establish a Safe Cleaning Routine
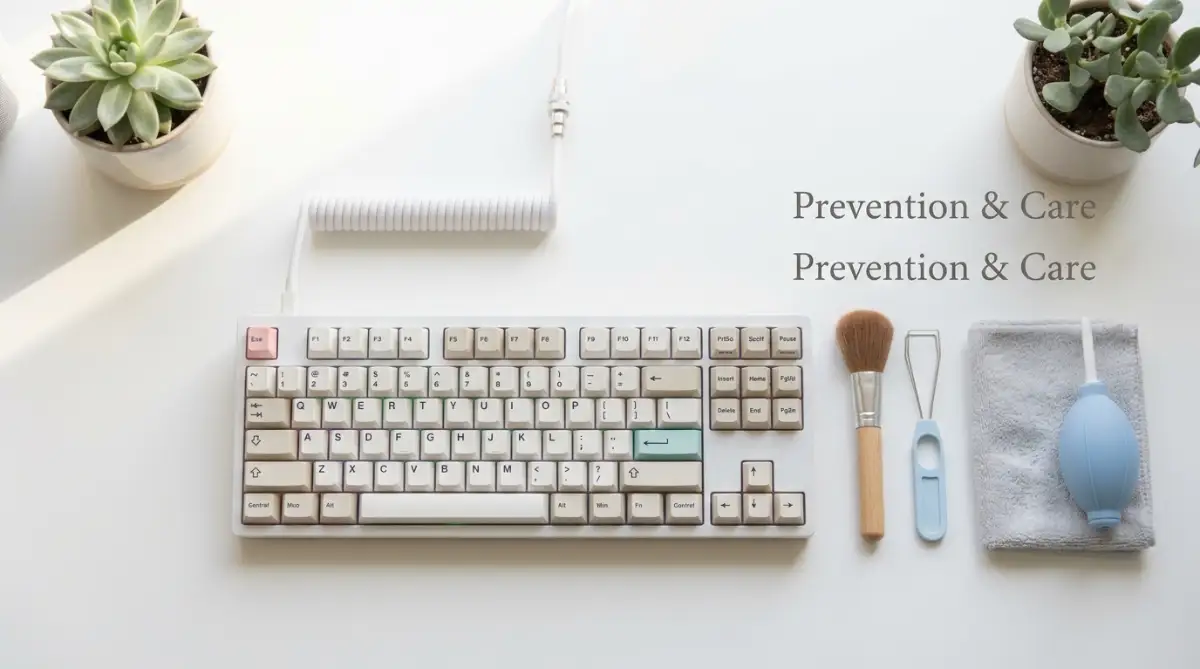
You need to set up a regular maintenance schedule that does not involve any dangerous chemicals. The safest and most effective way to clean your board is by using a simple, dry microfiber cloth.
Every single morning before you start working, gently wipe down the entire surface of the keys to remove overnight dust.
Once a week, take a soft-bristled makeup brush and sweep it between the rows of keys. This knocks loose any tiny particles that are trying to hide underneath the keycaps.
If you need to remove sticky finger oils, slightly dampen your microfiber cloth with plain water. Never spray water directly onto the keyboard; always put it on the cloth first to prevent any liquid from dripping down inside.
Proper Keycap Removal Techniques
There will come a time when you need to take your keycaps off for a deep cleaning session. Many people ruin their switches right at this moment by aggressively pulling the keys with their bare fingers.
Pulling a keycap with your fingers applies uneven, sideways pressure to the delicate plastic stem underneath.
If you pull at an angle, you can easily snap the stem right in half, completely destroying the switch forever. You must always use a proper wire keycap puller for this job.
Slide the wires straight down, twist them slightly to hook the corners of the cap, and pull straight up with steady, even force. If a key feels stuck, do not yank it violently; just wiggle it very gently until it naturally pops off.
Managing Environmental Humidity
Many people do not realize that the air in their room plays a huge part in how their switches behave over time. If your room is extremely humid, the moisture in the air will slowly cause the internal metal parts to oxidize.
If your room is extremely dry, static electricity becomes a massive problem, attracting even more dust than usual.
Try to keep your gaming or working room at a comfortable, balanced humidity level. Keep your keyboard away from direct, open windows where rain or morning dew might affect it.
If you live in a very dusty area, consider buying a simple cloth cover for your keyboard. Throwing a small cover over your board when you go to sleep is an incredibly easy way to block out 80% of daily dust buildup.
Advanced Secrets for a Lifetime of Perfect Keystrokes
If you want your keyboard to feel brand new for years, you have to look beyond basic surface cleaning. There is an entire world of advanced switch maintenance that most casual users never even think about.
I learned these secrets the hard way after spending entirely too much money replacing parts that were perfectly fine. You just need to understand how the internal mechanics actually respond to your daily environment.
By applying a few pro-level habits, you can keep your typing experience incredibly smooth and responsive. Let us break down these dynamic strategies so you can apply them to your own desk setup right now.
The Magic of Switch Films
One of the biggest hidden issues with mechanical boards is the tiny gap between the top and bottom plastic housing. Every time you press a key, this plastic casing vibrates and shifts slightly under the pressure.
Over thousands of presses, this constant wiggling allows microscopic dust to slide right into the sensitive copper contacts. Switch films are incredibly thin pieces of specialized plastic or rubber that completely seal this gap.
When you place a film inside the switch, it instantly tightens the entire housing. This stops the plastic from vibrating, which instantly makes your keyboard sound much deeper and more premium.
More importantly, it creates a physical barrier that blocks dirty air and sticky room humidity from reaching the metal leaf. It is a tiny upgrade that provides massive long-term protection for your expensive hardware.
Smart Lubrication Practices
Many enthusiasts love to lubricate their switches to get that buttery smooth typing feel. However, applying oil to your keyboard is a double-edged sword if you do not understand the science behind it.
Sticky, thick lubricants act like a glue trap for any pet hair, skin cells, or crumbs that fall under your keycaps. If you apply too much lube, you are essentially building a magnet for permanent internal damage.
You should always use the absolute thinnest layer of high-quality synthetic oil possible. The goal is just to coat the plastic rails, not to drown the entire internal mechanism in liquid.
According to deep hardware repair teardowns, excessive internal oils can actually block the electrical signal from passing through the metal leaf. This completely ruins the hardware, making it impossible for the board to register your inputs.
Treat this process with the same delicate care you would use when learning how to safely clean your VR lenses. A gentle, minimal approach always yields the best and safest results.
Mastering Your Desk Environment
Your physical room environment directly dictates how fast your gaming gear degrades. If you keep your computer tower on the carpet, its intake fans will constantly blow microscopic floor dust right onto your desk.
This dust settles directly onto your keyboard plate and slowly works its way inside the mechanisms.
You need to actively manage your desk hygiene to protect your investments. Keep a small air purifier running near your gaming setup to catch floating particles before they land.
If you notice your room gets extremely dry in the winter, be careful about static electricity buildup. A quick discharge from your finger can actually fry the sensitive circuit board sitting right beneath your mechanical switches.
Regular Performance Auditing
Do not wait for a key to completely fail before you decide to check on its health. You should set a mental reminder to do a quick performance audit of your board every single month.
Open up a blank text document and slowly press every single key, paying close attention to how they feel and sound. If a specific key feels even slightly heavier or sounds scratchy, that is your early warning sign.
Catching this dirt early means you can easily clean it out before it causes permanent scratches to the plastic stem. If you ignore these tiny warnings, the friction will literally wear away the plastic until the switch becomes useless.
Being proactive is always much cheaper and less stressful than having to desolder a broken switch in the middle of the night.
The Heartbreaking Pitfalls of Careless Maintenance
We all make mistakes when we are trying to fix something in a hurry. However, when it comes to delicate electronics, a well-meaning mistake can cause instant and irreversible damage.
I have seen countless people absolutely destroy their favorite gaming gear simply because they followed bad advice online. You need to be aware of these common traps so you do not accidentally ruin your own setup.
Let us talk about the specific mistakes that secretly destroy mechanical boards behind the scenes.
The Compressed Air Catastrophe
This is easily the most common and destructive mistake I see people make on a daily basis. When a switch starts feeling scratchy, the first instinct is usually to grab a can of compressed air and blast it directly into the key.
On the surface, this seems like a highly logical way to blow out the trapped dust.
In reality, blasting high-pressure air directly into a switch actually forces the dirt much deeper into the housing. Instead of blowing the crumb away, you are actively pushing it directly into the sensitive copper leaf.
Once that dirt gets wedged behind the metal contact, no amount of air will ever get it out again. You effectively turn a minor cleaning job into a permanent hardware failure.
Instead of using canned air, always use a soft brush to gently lift the dirt up and away from the mechanism.
The Aggressive Keycap Pulling Disaster
I totally understand the desire to quickly rip off your keycaps when you want to clean your board or change its look. But using your fingers to yank a plastic cap upwards puts an insane amount of tilted pressure on the delicate switch stem.
The plastic cross-stem is only a few millimeters thick, and it is not designed to handle sideways pulling force.
When you pull at a slight angle, the stem can instantly snap in half, leaving a broken piece of plastic permanently stuck inside your keycap. Now you have a ruined keycap and a completely broken switch that requires professional soldering tools to replace.
Always take an extra ten seconds to grab a proper wire keycap puller. Slide it straight down, secure the corners, and pull straight up to keep the stem perfectly safe.
Ignoring the Hidden Moisture Threat
Many people love to keep an open glass of ice water or a hot cup of coffee right next to their mouse pad. Even if you never spill the drink directly, the condensation and steam create a silent threat.
The steam from hot tea slowly drifts over your keyboard, allowing microscopic moisture to enter the switch housings.
Over a few months, this constant exposure to humidity causes the internal copper springs to oxidize and rust. This invisible rust ruins the smooth travel of the key and disrupts the electrical connection to your computer.
This type of hardware failure is exactly why people often have to troubleshoot when their VR headset keeps disconnecting from their PC. Moisture creates invisible connectivity issues that drive gamers absolutely crazy.
Always use a spill-proof travel mug if you need a drink at your desk. It is a tiny lifestyle change that completely eliminates the risk of water damage.
The Heavy Hitting Gamer Rage
We all get frustrated when a competitive match is not going our way. Smacking your keyboard with your fist or hammering the keys in anger is incredibly satisfying in the moment.
However, your keyboard is built to handle specific mechanical switch engineering tolerances, not extreme blunt force trauma.
When you hit the board that hard, the shockwave travels straight through the switches and directly into the main printed circuit board. You can easily crack the tiny solder joints that connect the switch to the actual computer brain.
When this happens, the switch itself might feel perfectly fine, but the key will stop working completely.
If your keyboard inputs start lagging because of damaged connections, your gaming performance will instantly drop. It feels incredibly similar to the intense frustration of figuring out how to fix audio delay in VR games. The lack of instant feedback completely ruins your immersion and focus.
Your Master Plan for a Flawless Typing Experience
Protecting your mechanical keyboard does not have to be a stressful or overly technical chore. It really just comes down to changing a few simple habits and being mindful of your desk space.
You have learned how easily crumbs, heavy typing, and harsh chemicals can secretly destroy your expensive hardware. More importantly, you now have the exact strategies needed to block these threats before they cause any real damage.
Think of this process exactly like setting up a brand-new piece of advanced technology.
Just like you must carefully calibrate your drone compass before your first flight to ensure stability, you must calibrate your daily habits to ensure your keyboard stays healthy.
Start by moving your snacks away from the keys and adopting a slightly lighter typing touch. Invest in a proper wire keycap puller and a soft dust brush to safely maintain your board every single week.
According to strict occupational ergonomics guidelines, maintaining your equipment properly also reduces the physical strain on your own hands and wrists.
By keeping the internal springs smooth and clean, you prevent yourself from having to push uncomfortably hard while typing. This is a massive win for both your gaming gear and your personal health.
I genuinely hope these practical strategies save you from the expensive heartbreak I went through with my first custom board. You now have all the knowledge you need to keep your typing experience feeling fresh, smooth, and incredibly satisfying every single day. Grab a microfiber cloth, give your keyboard a gentle wipe down right now, and enjoy the perfect feel of healthy mechanical switches!
Common Questions About Switch Maintenance
Why do my mechanical keys feel sticky suddenly?
This usually happens because a mixture of natural finger oils, floating room dust, and tiny food particles has settled inside the switch housing. As this grime builds up, it creates a sticky friction that prevents the plastic stem from sliding smoothly. A gentle wipe down and careful brushing will help prevent this uncomfortable feeling.
Can I use rubbing alcohol to clean my switches?
You should absolutely never pour or spray rubbing alcohol directly into your mechanical switches. High-concentration alcohol strips away the factory lubrication and can easily dry out or melt the thin plastic components inside. Stick to using a dry microfiber cloth or a very slightly damp towel for the safest results.
How often should I realistically clean my gaming keyboard?
For standard surface cleaning, you should quickly wipe your keys with a dry cloth at least once every single week. A much deeper cleaning, which involves pulling the keycaps off and brushing the metal plate, should be done every three to six months. This specific routine depends highly on whether you have pets or eat heavily at your desk.
Will a custom dust cover actually protect my switches?
Yes, placing a simple fabric or plastic cover over your board when you step away is incredibly effective. It completely blocks out floating environmental dust, pet hair, and accidental spills from ever reaching the keys. It is arguably the cheapest and best preventative measure you can possibly use.
Disclaimer: The information provided in this blog post is based on personal experience and general best practices for hardware maintenance. Always refer to your specific keyboard manufacturer's warranty and instruction manual before attempting to remove keycaps or clean internal components. We are not responsible for any accidental damage caused to your hardware during the cleaning process.