The Frustrating Reality of Random VR Dropouts
I remember finally buying my dream VR setup, only to have the screen go completely black right as I was about to beat my highest score. I spent three weeks wanting to pull my hair out, thinking I bought a broken unit. It was incredibly frustrating to feel like I threw my money away, but I eventually figured out exactly what was going wrong.
Imagine you are in the middle of an intense dogfight in a flight simulator. You are just about to win the match. Suddenly, your screen goes completely black.
The audio starts looping endlessly. You take off your headset in pure frustration, staring at your computer screen. You are not alone in this struggle.
Thousands of gamers experience the exact same nightmare every single day. A random drop in connection can easily ruin a perfectly good gaming session. To make matters worse, troubleshooting hardware issues on Windows can sometimes feel like a never-ending puzzle.
When ordinary people look for answers, they usually hit a massive wall. The internet is full of highly technical advice that makes no sense to a regular gamer. Here is why finding the right answer is so hard:
- Conflicting Advice: One forum tells you to buy a brand new cable, while another tells you to reinstall your entire operating system.
- Wasted Money: Many gamers end up buying expensive new parts they never actually needed.
- Hidden Settings: The real problems are often buried deep inside secret Windows power menus that normal users never check.
- Misleading Error Codes: Your PC might tell you the display port is broken, when the actual issue is just a tiny software glitch.
Dealing with this problem does serious damage to your mental peace. It ruins the immersion that you paid good money to experience. Here is how this annoying issue impacts your daily life:
- Loss of Confidence: You become afraid to join multiplayer matches because you think your gear will fail at any moment.
- Physical Discomfort: Sudden black screens and screen freezing can trigger instant dizziness and motion sickness. Managing screen-induced dizziness becomes a real concern.
- Lost Excitement: Your highly expensive gaming equipment just sits collecting dust in the corner of your room.
- Constant Anxiety: Instead of enjoying the game, you spend your time constantly worrying if the screen will go dark again.
We spend so much time and money building our dream setups. It feels deeply unfair when a random glitch takes that joy away. The good news is that you can fix this completely.
You just need to know exactly where to look. I am going to walk you through every single step. By the end of this guide, your system will be rock solid.
The Step-by-Step Formula to Stabilize Your Virtual World
Step 1: Taming the Hidden USB Bandwidth Monster
One of the biggest reasons your connection drops is completely invisible to the naked eye. It all comes down to how your computer handles data traffic. Virtual reality sends a massive amount of visual and tracking data through a single wire.
Think of your USB port like a water pipe. If you try to push too much water through a tiny pipe, the pipe will burst. In the computer world, when the "pipe" gets overloaded, your headset simply disconnects to protect the system.
Many gamers make the mistake of plugging their device into the front panel of their computer case. These front ports are perfectly fine for keyboards or charging your phone. However, they are terrible for handling massive data streams.
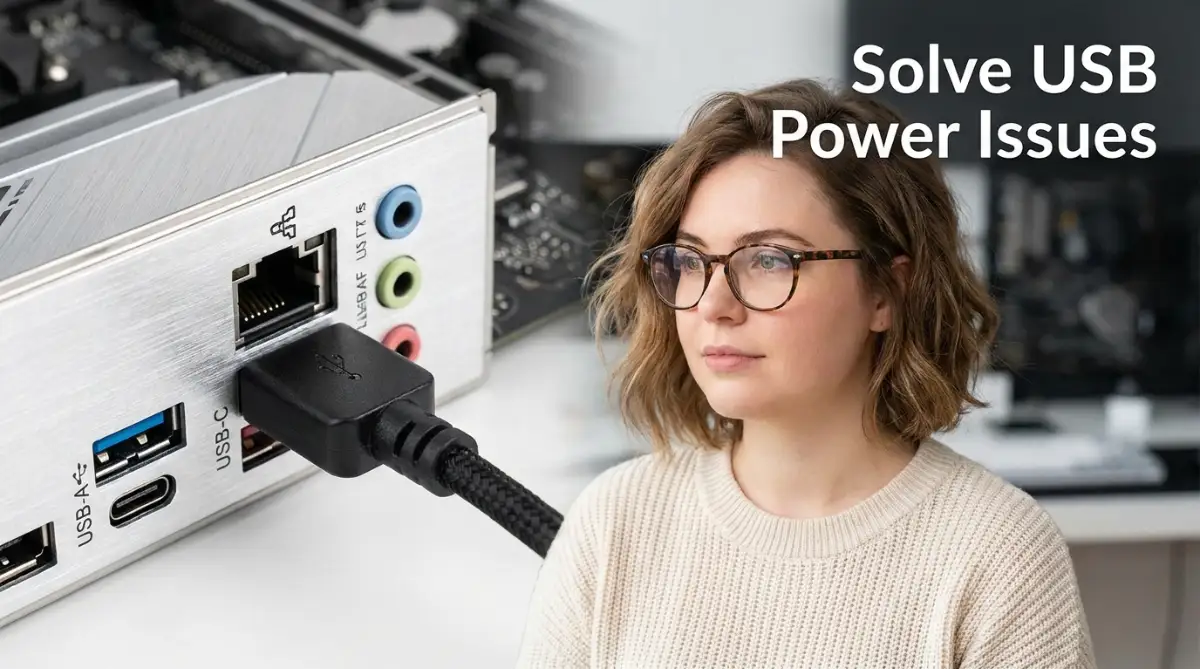
The front ports on your computer case connect to the main board using long, thin internal wires. These cheap wires easily lose signal strength along the way. To get the maximum bandwidth possible, you must always plug your cable directly into the back of your computer.
Look at the back of your desktop machine. You will see several different colored ports. You should completely avoid the black ports, as these are usually old, slow technology.
Instead, look for the blue, red, or teal colored ports. These bright colors indicate high-speed connections capable of handling heavy data. Plugging directly into a high-speed port ensures your data has a wide open highway to travel on.
If you are using a gaming laptop, you face a different set of challenges. Laptops pack everything into a tiny space, which causes massive heat buildup. If your device gets too hot, the motherboard will automatically slow down the data ports to cool off.
This sudden drop in speed causes instant disconnects. If you suspect heat is your main problem, you should learn how to diagnose and fix overheating issues in high performance laptops. Keeping your machine cool is exactly how you keep your data flowing smoothly.
Step 2: Stopping Windows From Forcing Your Gear to Sleep
The Windows operating system has a very aggressive built-in feature designed to save electricity. It is called "USB Selective Suspend". This feature is great for office computers, but it is an absolute nightmare for gamers.
When you are playing a game, your computer might mistakenly think the connection is idle for a split second. Because of the power-saving feature, Windows will instantly cut the power to that port. When the power drops, your screen goes black instantly.
This happens all the time without warning. You might be perfectly still in the game for just a moment. Windows sees no movement and decides to turn off the power to save energy.
We need to dive into the settings and turn this feature off completely. Do not worry, turning this off will not harm your computer at all. It will simply force the power to stay on permanently.
First, click on your start menu and type the words "Edit Power Plan". Click on the result that pops up on your screen. In this new window, look for the blue text that says "Change advanced power settings" and click it.
A small box will appear with a long list of computer parts. Scroll down until you find the line labeled "USB settings". Click the tiny plus sign next to it to expand the menu.
Underneath, you will see "USB selective suspend setting". Change the option from "Enabled" to "Disabled". Click the apply button at the bottom of the window.
You have just stopped Windows from pulling the plug on your fun. This single setting change fixes the problem for nearly half of all gamers. It ensures a constant, steady stream of electricity directly to your gear.
My biggest mistake was ignoring this power setting for months because I thought Windows knew best. I actually bought a whole new expensive cable thinking my old one was dead, just to find out this one tiny power-saving box was causing all my disconnects. Take it from me, check this setting first before you spend a single dime on replacement parts.
Step 3: Cleaning Up Hidden Driver Clashes
Software clashes happen when two different programs try to control the same piece of hardware at the exact same time. Modern computers are loaded with background software. RGB lighting software, mouse control panels, and custom fan controllers are the biggest offenders.
These programs constantly send tiny pings to your connection ports to check on your keyboard or mouse lights. Every time they ping the port, they briefly interrupt the data stream. Your high-tech gaming gear is extremely sensitive to these tiny interruptions.
If a data packet goes missing because of a mouse software ping, your screen might flash white or go dark. You need to make sure your main software has complete priority over everything else. The best way to do this is to clean up your background apps.
Before starting your game, look at the bottom right corner of your screen near the clock. Click the little up arrow to see your background tasks. Right-click and close any software that controls colorful lights or custom macros.
Next, you need to think about your graphics card drivers. Drivers are the instruction manuals your computer uses to talk to your hardware. If this manual gets corrupted, the communication breaks down instantly.
Sometimes, simply updating your driver is not enough. The old, broken files often get left behind on your hard drive. These leftover files will continue to cause random drops and stuttering.
To fix this properly, you need a totally clean slate. You should uninstall your current graphics software completely and restart your machine. After the restart, download the brand new files directly from the manufacturer's website.
A clean installation removes all the messy, broken code from the past. It gives your system a fresh start. You will immediately notice a much smoother, more stable experience once the software conflicts are wiped out.
Keeping your system lean and clean requires a bit of effort, but it pays off greatly. Just like handling massive files for heavy tasks, your computer needs room to breathe. For example, knowing how to balance your system load is just like knowing how to generate high quality conceptual art using AI and keep your budget intact without burning out your main processor. Efficiency is always the ultimate goal.
Step 4: Perfecting Your Room Environment and Sensor Accuracy
Many people assume that connection issues are always caused by cables or software. However, your physical room environment plays a massive role in stability. If your external sensors lose sight of your gear, the system will completely lock up and appear disconnected.
Your sensors rely on invisible infrared light to track your movements. If your room is completely filled with bright, direct sunlight, the sensors get blinded. It is exactly like trying to see a tiny flashlight while staring directly into the midday sun.
When the sensors get blinded, they panic and send an error code back to your computer. The computer reacts by dropping the feed. You can fix this instantly by simply drawing the curtains or pulling the blinds in your gaming room.
Mirrors and highly reflective surfaces are another major enemy of tracking systems. A large mirror on your wall will bounce the infrared light around the room. The system receives multiple confusing signals at once and eventually crashes.
If you have a large glass window, a mirror, or even a shiny television screen, try covering them with a blanket while you play. This stops the light signals from bouncing into the wrong places. Your sensors will finally have a clear, uninterrupted view of your movements.
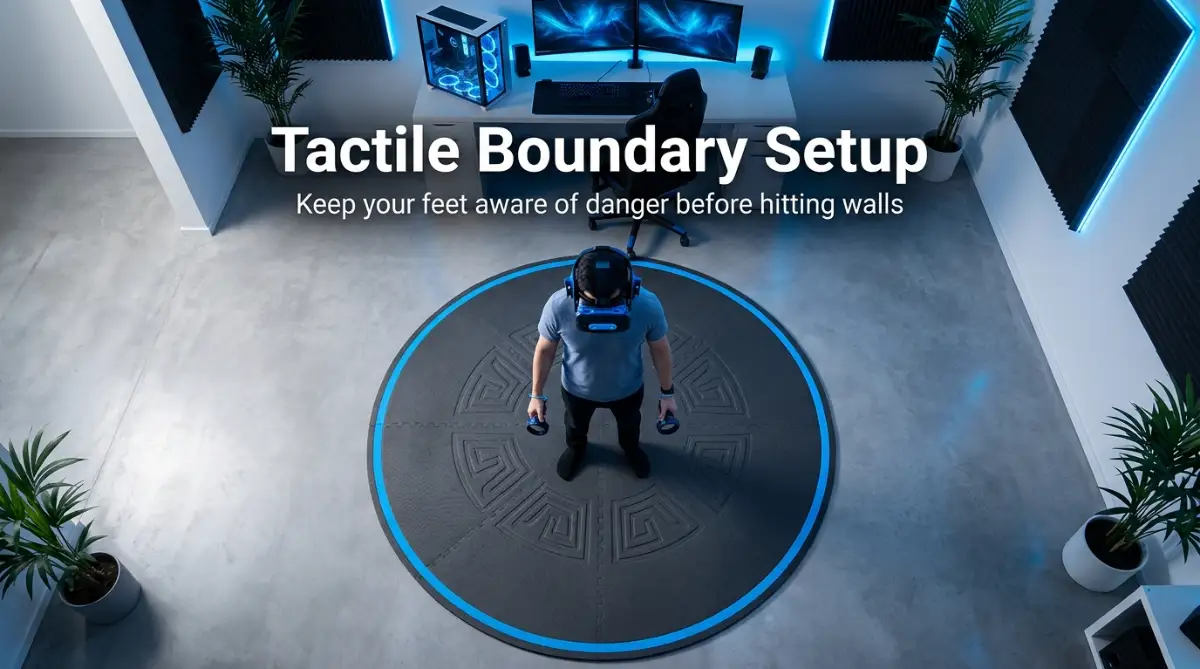
Proper alignment is also incredibly important for stable data transmission. If your wall-mounted sensors vibrate or shift downward over time, the tracking grid gets heavily distorted. You should make a habit of checking their physical mounts every few weeks.
Tighten the screws and ensure they are angled perfectly toward the center of your play space. Think of it like aligning a highly sensitive machine for a perfect flight. Much like mastering your photography drone calibration tips to avoid costly repairs, making tiny physical adjustments to your sensors prevents massive errors down the road.
Step 5: Mastering Cable Health and Tension Control
Let us talk about the absolute most fragile part of your entire setup: the main tether cable. This long wire contains dozens of extremely delicate fiber optic strands and copper lines. Every time you step on it or pull it tightly, you are doing permanent damage.
When you spin around in a game, the cable twists behind you. After just an hour of playing, the cable often looks like a twisted phone cord. These tight twists actually bend the internal wires past their breaking point.
When the internal wires break, the data flow becomes very spotty. If you look down and turn your head to the left, the wire might make contact. But the moment you turn to the right, the wire separates and your screen goes completely dark.
This is a physical disconnect, and no amount of software updates will fix it. You need to develop highly protective habits. Never just throw your gear into a corner when you are done playing.
Always take exactly two minutes to manually untwist the line. Hold the main unit in one hand and gently run your fingers down the length of the cord to push the twists out. Coil it in wide, loose circles before resting it on your desk.
If you want to permanently protect the wire, you should invest in a cheap ceiling pulley system. These small sticky hooks attach to your ceiling and hold the wire above your head. This completely stops you from stepping on the cord or twisting it around your legs.
Want to see exactly how to set up a cheap ceiling pulley system so you never step on your cable again? Watch this quick video to see how it works, and then keep reading below to learn how background apps are secretly ruining your connection!
Taking care of the physical connection is the best way to ensure long-term stability. A healthy, stress-free wire guarantees that your data packets reach your eyes without a single interruption.
Step 6: Managing Heavy PC Workloads
Sometimes the disconnect happens because your processor simply gives up. Running high-end virtual simulations requires an insane amount of computing power. If your processor hits one hundred percent usage, it starts throwing away lower-priority tasks to survive.
Unfortunately, your operating system often treats the display connection as a lower-priority background task. When things get too heavy, the computer briefly ignores the data port to focus on rendering graphics. This tiny pause feels like a full disconnect to you.
You need to make sure you are not running massive background tasks while playing. Check your web browser and close any tabs playing heavy videos. Make sure your system is not downloading large game updates in the background.
Having multiple heavy processing tasks open is a guaranteed way to crash your system. Think about content creators who try to game and render videos at the same time. This heavy load ruins the outcome, much like how bad video editing is secretly killing your YouTube money and how to fix it by pushing the system too hard and producing broken files. You must respect your computer's limits.
5 Massive Mistakes That Will Destroy Your Experience
When trying to fix dropouts, ordinary gamers often make things much worse. They take shortcuts that put their expensive equipment at serious risk. Here are the five biggest mistakes you absolutely must avoid.
1. Using Cheap Unpowered Hubs
Many users buy a five-dollar port multiplier to add more plugs to their computer. These cheap hubs do not have their own power source. They try to suck all the electricity from a single port on your motherboard. When you plug your heavy-duty gear into an unpowered hub, it instantly starves for electricity and shuts down completely.
2. Stacking Extension Cords Together
You might want more room to walk around, so you connect two or three extension wires together. Every time two cables connect, the electrical signal degrades heavily. By the time the data reaches the end of the third cable, the signal is too weak to create a picture. Always buy one single, high-quality long cable instead of chaining small ones together.
3. Ignoring System Updates
Gamers love to click "remind me tomorrow" when Windows asks for an update. However, motherboard manufacturers frequently release specific patches strictly to fix connection stability. By ignoring these small patches, you are purposely choosing to play on a broken system. Always keep your main operating files updated.
4. Playing in Extremely Hot Environments
Your electronic equipment creates a massive amount of heat while operating. If your room feels like an oven, the internal chips inside your gear will start to cook. To prevent melting, the internal computer chips will forcefully throttle their speed, causing massive lag and eventual shut-offs. Always keep a fan blowing directly into your play space.
5. Forcibly Yanking Plugs from the Socket
When frustrated, it is common to just rip the cord out of the computer quickly. Pulling from the wire instead of the hard plastic connector destroys the metal pins inside. Bent pins cause loose connections. Even the tiniest bump of your desk will break the data flow if the pins are damaged.
If you avoid these five mistakes, the lifespan of your gaming setup will easily double. Treat your electronics with respect, and they will give you thousands of hours of perfect stability.
Your Next Steps to Uninterrupted Gaming
You now hold the exact blueprint to solve the most annoying problem in gaming today. You no longer have to guess why your screen randomly goes dark. You have the knowledge to fix software settings, manage electricity rules, and protect your physical setup.
Do not try to fix everything all at once. Start with the easiest step right now. Go into your power settings and disable that annoying selective suspend feature immediately.
After that, make a habit of checking your cables and untwisting them after every single session. Small, consistent habits make the biggest difference. Your hardware wants to perform perfectly for you.
You are fully equipped to take back control of your gaming experience. No more stuttering, no more dizzying black screens, and no more frustrating mid-game crashes. Go plug in your gear, start up your favorite game, and enjoy a perfectly smooth and reliable connection.
I know how defeating it feels to deal with annoying tech issues, but I promise that taking a few minutes to apply these fixes will change everything. Since I made these exact tweaks, my headset hasn't dropped out once, and I am finally enjoying my games stress-free. Go ahead and try that USB power setting fix right now—you will be amazed at the difference it makes!
Disclaimer: The information provided in "Fix Your VR Headset Keeps Disconnecting From PC (Ultimate Guide)" is based on my personal gaming experience and general troubleshooting steps. I am not a certified computer technician. Please be careful when changing system settings, handling heavy PC workloads, or modifying your physical play space. Always consult your hardware manufacturer's manual or support team if you are unsure about warranty rules or specific device limits.