

You strap in, expecting an epic session, and... nothing. Just an endless, expensive black void staring back.
Don't panic and toss it in the closet just yet.
Quick Summary:
- Don't touch the screwdrivers. Most black screens are just basic software hiccups or a dirty proximity sensor.
- Hard resetting your gear usually forces the display drivers right out of their digital coma.
- Always check your computer's USB power management settings before assuming a massive hardware failure.
The Frustrating Reality of a Blank Virtual World
Imagine this exact scenario. You've just cleared your schedule for a well-deserved gaming session after a long, exhausting week. You put on your gear, adjust the head straps perfectly, and wait for the immersive digital world to load.
But instead of a vibrant virtual environment, you're staring into absolute darkness. A complete, endless void. Your device's clearly powered on, and you might even hear the game audio playing perfectly in the background. However, the display remains completely dead.
This sudden blackout isn't just annoying; it completely ruins your excitement and momentum. You've spent a significant amount of hard-earned money on this technology, expecting a magical escape from reality. Instead, you're left holding an expensive piece of plastic that simply refuses to work. The disappointment hits incredibly hard when your anticipated adventure turns into an unexpected technical nightmare.
Most users panic immediately when they face this display issue. They quickly search online, only to find confusing forums and highly outdated advice. This flood of unhelpful information creates more problems than it actually solves.
I still remember the first time my VR headset went completely pitch black right in the middle of a weekend gaming session. My heart sank, and I spent hours frantically searching through ancient forum threads thinking I'd just burned through hundreds of dollars. Trust me, I know that terrifying feeling of staring into the void all too well, but you're not alone in this.
- Overcomplicated technical jargon leaves average users feeling completely lost and deeply helpless.
- Scattered forum replies often contradict each other, making it impossible to know which step you should follow first.
- Dangerous DIY suggestions, like taking the device apart with a screwdriver, can instantly void your warranty and permanently destroy the hardware.
- Ignoring the simple basics happens constantly because many online guides assume you already know advanced technical troubleshooting techniques.
Why We Always Assume the Worst
It's pure instinct to panic when your expensive headset suddenly plays dead. You immediately think the internal hardware just fried itself.
Here's the reality.
Most players aggressively rip out cables or instantly trigger factory resets out of pure frustration. That impulsive reaction usually causes the actual permanent damage we were trying to avoid in the first place.
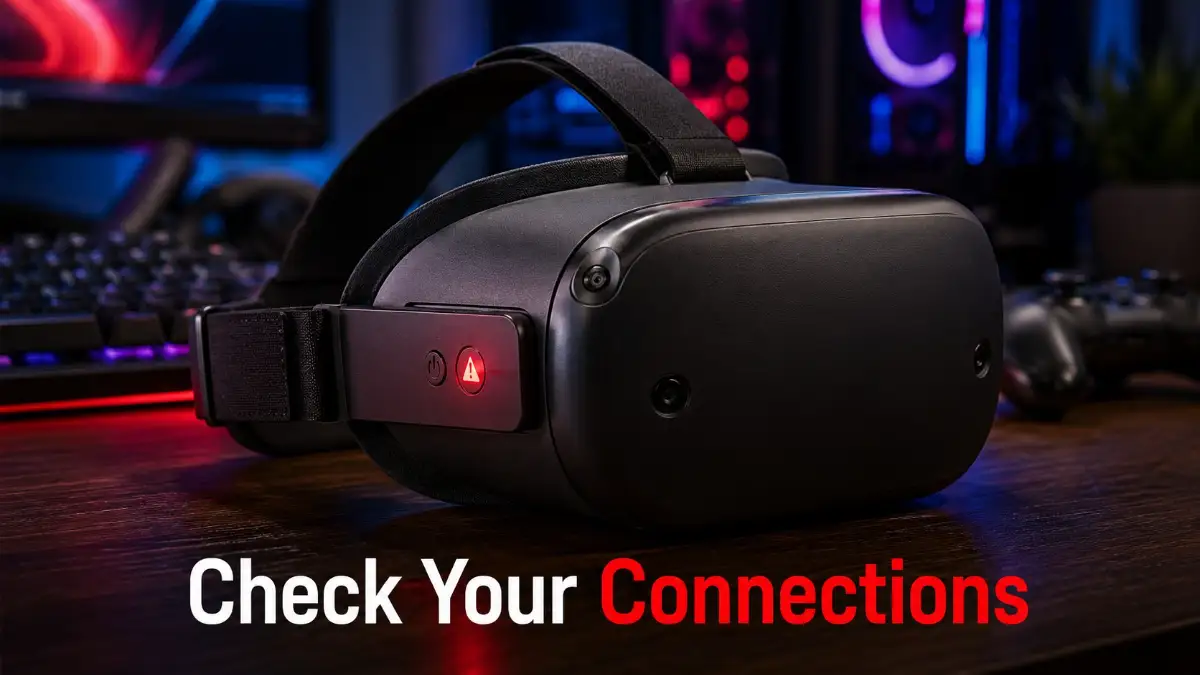
The Ultimate Diagnostic and Repair Protocol
When your display goes completely dark, it's incredibly easy to assume the worst. However, I want to reassure you that a dead screen rarely means your hardware's permanently broken. In most cases, the hardware's perfectly fine, but it's waiting for the right signal to wake up.
So, what's actually happening behind those dark lenses?
We're going to walk through a highly logical, step-by-step diagnostic process. I'll show you exactly how to identify the root cause of the problem without needing a degree in computer engineering. We'll start with the easiest fixes and slowly move toward the more advanced solutions.
1. The Proximity Sensor Illusion
Before you start unplugging cables or updating software, you need to check the most common and overlooked culprit. Every modern virtual reality gear has a tiny optical sensor built right between the lenses. This's called the proximity sensor.
This little sensor acts like a security guard for your screens. Its only job's to detect when your face's actually inside the device. If it doesn't sense your forehead, it tells the screens to stay off to save battery and prevent screen burn-in.
Sometimes, this sensor gets confused. A small piece of dust, a smudge of sweat, or even a poorly positioned silicone face pad can trick the sensor into thinking the headset's sitting empty on your desk. When this happens, the screens'll simply refuse to turn on.
How to fix this immediately:
Take a dry, clean microfiber cloth and gently wipe the space exactly in the middle of your two lenses. Make sure your facial interface cushion's pushed all the way into its proper plastic clips. Put the gear back on your head and adjust it slightly up and down to see if the screens wake up.
Pro Tip: Keep a dedicated microfiber cloth inside your carrying case and never wash it with fabric softener. Softeners leave behind an invisible chemical film that absolutely ruins optical sensors over time.
I used to make the silly mistake of pulling my entire headset apart every single time the screen wouldn't turn on. A quick wipe of that tiny sensor with a clean cloth saved me from sending my gear to repair three different times. Always check the easiest physical fixes first before you start messing with your computer settings!
Myth vs Reality: The Broken Screen Fear
The Common Myth: A completely dark display means the internal OLED or LCD panels are physically shattered or burned out, requiring a very expensive factory repair.
The Actual Reality: Internal display panels are protected by thick lenses and heavy plastic housing, making them very hard to break. More than 80% of display failures are actually caused by simple software sleep-mode glitches or a dirty proximity sensor.
2. The Cable Handshake Protocol (For PC Users)
If you're using a tethered device connected to a computer, the physical cable's your absolute lifeline. This cable doesn't just carry power; it carries a massive amount of visual data every single second. Think of your connection cable like a high-pressure water hose.
If there's even a tiny kink in that hose, the water stops flowing. Similarly, if your cable's twisted, bent too sharply, or slowly pulling out of the port, the visual data gets interrupted. The audio might still work because it requires very little data, but the heavy visual data fails entirely.
Computers and external displays use something called a "handshake protocol" when they connect. They send secret digital signals back and forth to confirm they recognize each other. If the cable's loose by even a millimeter, this handshake fails, and your computer refuses to send the video feed.
Your Action Plan:
Completely unplug the cable from both your computer and the headset itself. Yes, you need to unplug the side that connects directly into the headset, which often requires removing the facial cushion first. Inspect the metal connectors for any bent pins or strange debris.
Plug everything back in with a firm, solid push until you feel a satisfying click. If you constantly hear the Windows disconnect chime, you'll need to fix those random PC disconnects before your displays will stabilize. This specific order helps the digital handshake happen smoothly.
3. Breaking the Sleep Mode Coma
Sometimes, your device gets stuck in a deep state of confusion. Modern electronics are designed to enter a low-power sleep state when you take them off. However, software bugs can easily trap the operating system in a permanent sleep loop.
The device thinks it's awake because the lights are on, but the display driver remains fully asleep. This's essentially a digital coma. Pressing the power button once won't fix this, because a normal button press just tells the system to go back to sleep.
You need to perform a hard reset, which forces the internal motherboard to physically cut power to all components and start entirely fresh. This clears out the temporary memory where the glitch's currently hiding.
If you prefer to see how this works in real-time, check out this quick step-by-step video guide below! Watching the exact reset process'll help you follow along easily before reading the rest of our tips.
How to perform a hard reset safely:
Leave your device completely unplugged from any wall charger or computer. Press and hold the physical power button on the side of the headset. Don't let go after three seconds.
You must keep holding that button down for a full 30 to 45 seconds. Keep holding it even if you see a logo flash or hear a small beep. Once the time's up, let go, wait exactly one minute, and then press the power button normally to turn it back on.
A Quick Diagnostic Checklist
To help you organize your troubleshooting process, keep this simple checklist in mind before moving to advanced computer settings:
- Check the audio: Do you hear menu sounds when you move the controllers? (If yes, the device's on, but the screen's off).
- Look for the light: Is the tiny LED indicator light white, green, or red? (Red usually means a dead battery, not a dead screen).
- Inspect the lenses: Is there any visible physical crack deep inside the glass? (If no, your hardware's likely safe).
- Try the thumb test: Did you cover the inside sensor with your finger to force the screen awake?
4. USB Power Management Restrictions
If your gear connects to a Windows PC, the problem might actually be your computer's hidden battery-saving features. Windows has a very aggressive habit of turning off power to USB ports to save electricity. The Windows USB selective suspend feature is notorious for aggressively killing power to high-drain peripherals without warning.
When you put on your gear, it suddenly asks the computer for a massive surge of power to light up those high-resolution screens. If Windows's restricted that specific USB port, the device starves for power. It gets enough juice to turn on the tracking lights, but not enough to fire up the dual displays.
This creates a highly frustrating situation where everything looks normal on your computer screen, but your lenses remain dark. You have to manually tell your computer to stop turning off the power.
Fixing this inside Windows:
Right-click on your Start menu and open the Device Manager. Scroll down until you find the section called "Universal Serial Bus controllers" and click the little arrow to expand it. You'll see several items named "USB Root Hub".
Right-click on the first USB Root Hub and select Properties. Go to the Power Management tab at the top. You'll see a small checkbox that says "Allow the computer to turn off this device to save power."
Uncheck that box immediately and click OK. You need to repeat this exact process for every single USB Root Hub listed in that menu. Once you finish, restart your computer completely. This ensures your ports deliver maximum, uninterrupted power exactly when your screens need it.
5. The Graphic Driver Conflict
Your graphics card's the absolute brain behind your virtual experience. It works incredibly hard to render two separate images at very high frame rates. To do this properly, it relies on software drivers. Think of drivers as the language your graphics card uses to speak to your headset.
If that language gets corrupted during a recent Windows update, the graphics card simply stops knowing how to send the video signal. The connection gets broken, and you get a black display. Sometimes, even updating to the newest driver can cause this, especially if the new driver has unknown bugs.
In these specific scenarios, you don't need new hardware. You simply need to clean out the old, corrupted language and install a fresh set of instructions.
This requires you to download the official software for your specific graphics card brand. During the installation process, you must look for an option called "Perform a clean installation." This small check box'll wipe away all the broken files before installing the new ones, giving your displays a completely fresh start.
Advanced Hardware Diagnostics and Pro-Level Fixes
If you've tried the basic connection checks and your display still refuses to wake up, don't lose hope just yet. We're now going to look at the advanced software mechanics that operate quietly in the background of your device.
Many users completely overlook these hidden settings. However, adjusting a few simple software configurations can often bring a dead screen back to life in seconds. I'm going to share some expert-level secrets that repair technicians use every single day.
The Hidden Beta Software Trap
Technology companies love to test new features before releasing them to the general public. They do this by offering "Public Test Channels" or beta software updates. Many gamers eagerly sign up for these beta programs to experience new menus or experimental tracking updates early.
Unfortunately, beta software's highly unstable by definition. It's full of hidden coding errors and unexpected bugs. A single poorly written line of code in a beta update can easily crash your display drivers, resulting in an immediate black screen.
If your device's currently enrolled in a beta program, you need to opt out immediately. Open your official companion app on your smartphone or computer. Navigate to the advanced device settings and completely disable the Public Test Channel option.
Once you turn this off, your device'll automatically download the stable, official version of the operating system. Let the software downgrade finish completely, and then restart your headset. This simple rollback fixes display