The Hidden Nightmare of Uncalibrated First Flights
Imagine spending a large amount of your hard-earned money on a brand-new, high-tech drone. You unbox it with extreme excitement, charge the batteries, and rush outside to capture beautiful aerial views.
Without thinking twice, you push the launch button. But instead of hovering smoothly, your expensive new gadget suddenly darts sideways, completely ignoring your remote commands.
Within seconds, it smashes into a nearby tree, shattering the propellers and cracking the camera gimbal. This heartbreaking scenario happens every single day to excited beginners. The hidden culprit behind this disaster is almost always an uncalibrated compass.
I learned this lesson the hard way on my very first flight at a local park. I was so eager to get airborne that I skipped the setup steps, only to watch my brand-new drone shoot sideways and slam straight into a wooden bench. That painful moment taught me that spending two minutes on proper compass setup saves hundreds of dollars in repairs.
When beginners skip this essential setup step, they face serious daily struggles. Here is why people fail to find the right solutions and suffer due to bad information:
- Confusing instruction manuals: Factory manuals often use highly technical jargon that completely confuses regular users.
- Outdated online forums: Many beginners read advice on internet forums that no longer applies to modern GPS-enabled drones.
- Rushing the process: Excitement takes over, making people think the setup steps are just optional suggestions rather than hard rules.
- Hidden magnetic fields: New pilots often follow the physical steps correctly but do so in completely wrong environments, ruining the whole process.
- The "Ready to Fly" myth: Box labels that say "Ready to Fly" make people falsely believe the gadget needs zero software preparation.
This ongoing problem heavily destroys the mental peace and confidence of new aerial photographers. Let us look at how this impacts your mindset:
- Constant fear of flying: After experiencing one sudden flyaway, you become terrified to launch your gadget again.
- Wasted creative potential: Instead of focusing on framing the perfect sunset shot, you are sweating and panicking about keeping the machine stable in the air.
- Financial anxiety: Every time you hear a weird noise from the motors, you instantly worry about expensive repair bills.
- Embarrassment in public: Struggling to control an erratic machine in a crowded park can make you feel extremely silly and unskilled.
These issues are incredibly common, but they are entirely preventable. To help you understand the physics behind this, the National Oceanic and Atmospheric Administration (NOAA) explains Earth's magnetic field variations and how they shift depending on your exact location on the globe.
Your drone uses a highly sensitive internal sensor to read these invisible magnetic lines. If the sensor is confused by local metals or travel changes, the machine literally does not know which way is north.
For additional safety, always check the FAA's national airspace safety guidelines before you even think about turning your propellers on. Combining legal airspace knowledge with proper internal sensor setup gives you the ultimate peace of mind.
If you ever experience strange hovering behavior, mastering your photography drone calibration tips to avoid costly repairs is your best line of defense. By understanding these core concepts, you will instantly separate yourself from the average beginner who relies purely on blind luck.
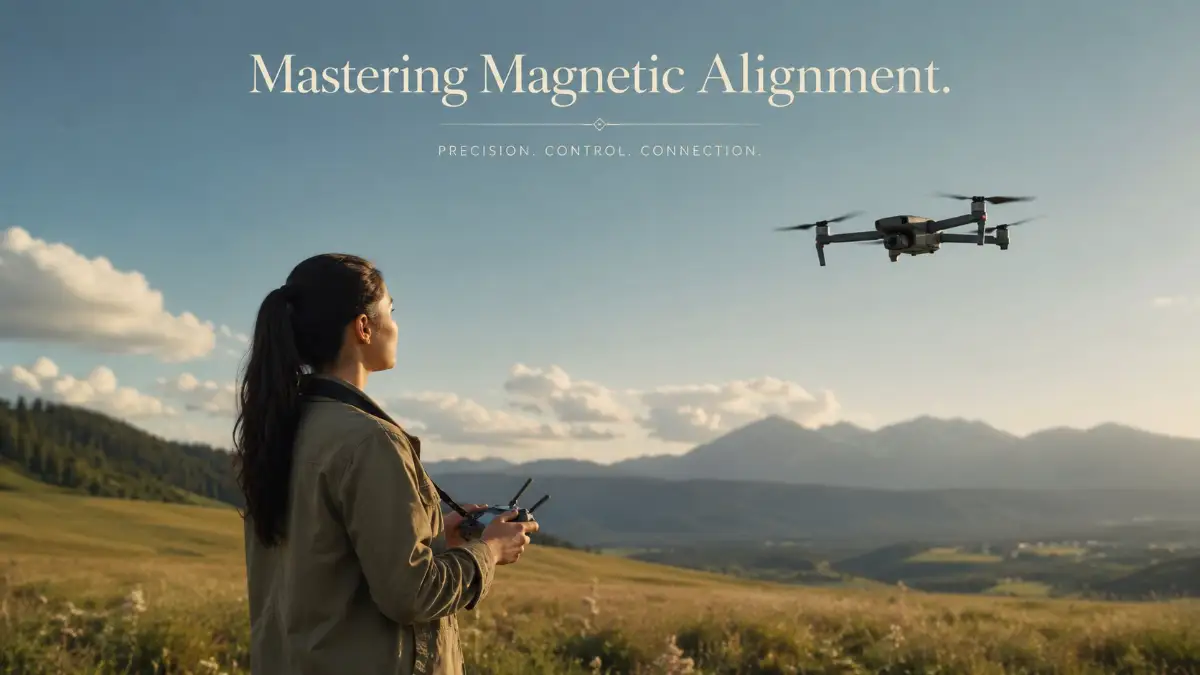
Your Step-by-Step Flight Preparation Blueprint
Now that we understand the deep risks of skipping this step, let us walk through the exact, highly practical process to get your gadget ready.
Think of this as teaching your newly bought machine how to walk before it can run. If you apply these steps today, you will instantly notice a massive difference in how stable your machine behaves in the air.
Step 1: Hunting for the Perfect Magnetic Environment
The very first step happens long before you even turn the power button on. You must find an environment that is completely free of magnetic interference.
Your machine's internal sensor is basically a highly sensitive digital needle. If you place a giant magnet near a traditional compass, the needle goes crazy.
The exact same thing happens to your drone when you stand near hidden metals. You must completely avoid concrete surfaces.
Why? Because modern sidewalks, driveways, and parking lots are packed with hidden steel rebar inside the cement.
Standing on a concrete driveway is like asking your drone to find north while sitting inside a giant metal cage. You should also stay far away from power lines, metal fences, and even cars.
Real-Life Scenario: Imagine you drive to a beautiful mountain overlook. You place your gadget on the hood of your car to calibrate it because the hood is flat and clean.
This is a massive mistake. The massive steel engine block right underneath the plastic hood will instantly corrupt the sensor data.
Instead, walk at least 20 feet away from your vehicle. Find a clear patch of natural grass or plain dirt.
You should also check your own pockets. Remove your smartphone, your car keys, and any magnetic smartwatches from your body.
These small items emit tiny magnetic fields that can actually mess up the setup process if you hold the machine close to your chest. Finding a pure, natural environment is fifty percent of the battle won.
Here is a quick pro tip from my own silly mistake: always double-check your wrists before you begin. I once spent forty-five frustrating minutes wondering why my setup kept failing, only to realize my magnetic smartwatch band was confusing the drone sensor every time I held it.
Step 2: The Horizontal and Vertical Dance Routine
Once you are standing in a clean, metal-free grassy field, turn on your remote controller first, and then turn on the machine. Open your flight app and tap the option that says "Calibrate Compass."
The app will usually show you an on-screen prompt to begin the physical rotation. This physical rotation is how the internal 3-axis sensor learns its current position on the planet.
The Horizontal Rotation:
First, pick up the machine and hold it perfectly flat, exactly parallel to the ground. Keep it at chest level.
Now, slowly turn your own body around in a complete 360-degree circle. Do not just twist your wrists; physically walk your feet around in a small circle.
Keep your walking speed smooth and steady. Imagine you are holding a bowl of water filled to the very brim, and you do not want to spill a single drop.
The Vertical Rotation:
After completing the first circle, your app will beep, or the LED lights will change color. Now, it is time for the vertical step.
Point the nose (the camera side) of the machine straight down toward the grass. Keep the machine in this exact vertical position.
Once again, slowly turn your own body around in a complete 360-degree circle.
Why do we do this weird dance? Because the sensor needs to measure the Earth's magnetic pull from multiple different angles to build an accurate 3D map in its brain.
If you rush this step or shake your hands violently, the mathematical data gets ruined. Always take your time and move smoothly.
Need to see how the calibration dance actually looks in real life? Watch this quick visual guide below to master the exact rotation moves, then keep reading to learn how to read your drone's LED lights!
Step 3: Interpreting the Secret Language of LED Lights
Your machine communicates with you primarily through its flashing LED indicator lights. Understanding this light language is incredibly helpful for a successful launch.
When you first initiate the setup process, the lights will usually turn solid yellow or flash alternating colors. This means the system is ready to learn.
After you successfully complete the horizontal spin, the lights will transition to solid green or flash green rapidly. This is your cue to move to the vertical position.
If at any point during your dance routine the lights suddenly start flashing bright red, stop immediately. Red lights are the universal sign of an error.
What causes a red light error?
Most of the time, it means the sensor suddenly detected a massive spike in magnetic interference. You might have accidentally walked over a buried metal pipe under the grass.
It can also mean you spun around way too fast, making the sensor dizzy. If you get a red light, do not panic and do not try to force a launch.
Simply cancel the process in your mobile app, walk ten steps to a different spot in the field, and start over from the beginning.
Patience is your best friend here. A successful calibration ends with steady, normal flight lights (usually a slow, rhythmic green pulse).
Once you see those happy green lights, your drone finally understands exactly where it is in the world. It knows where north, south, east, and west are, and it knows exactly how to return to you safely if the remote signal drops.
Following these three core steps ensures that your very first launch will be incredibly smooth, stable, and completely stress-free.
Next-Level Strategies for Flawless Hovering
Now that you have mastered the basic physical rotations, it is time to look at professional-level strategies. These advanced tips will separate you from the weekend hobbyists and ensure your machine performs flawlessly in any environment.
Understanding these deeper concepts will protect your investment over the long term.
Step 4: Mastering the Geography of Calibration
One of the most common questions beginners ask is, "How often do I actually need to do this?" The answer completely depends on your travel geography.
Earth's magnetic field is not uniform; it changes significantly based on your location on the map. If you normally fly your gadget in your local neighborhood park, you do not need to do this dance every single day.
However, if you pack your machine in your car and drive 100 miles away for a weekend trip, the magnetic environment is totally different.
A great rule of thumb: Always recalibrate if you have traveled more than 30 miles from your last launch spot.
You must also repeat the process if you have recently traveled on an airplane. The massive security scanners at the airport, combined with the metal structure of the airplane itself, can heavily magnetize your machine's internal components.
Practical Scenario: Let us say you fly perfectly in New York. The next day, you take a flight to Florida for a beach vacation.
If you try to launch on the Florida beach using the New York magnetic data, the drone will act completely drunk in the air. Its brain is fighting between where it thinks it is and what the GPS satellites are telling it.
Always reset the system when your physical geography changes significantly.
Step 5: Monitoring the Invisible Solar Weather
This might sound like science fiction, but solar weather heavily impacts how your gadget flies. The sun constantly releases massive waves of energy called solar flares.
When these energy waves hit Earth, they cause geomagnetic storms. These invisible storms severely disrupt GPS signals and compass readings all over the world.
Professionals always check the KP Index before heading out for a paid shoot. The KP Index is a global scale from 0 to 9 that measures geomagnetic disruption.
- KP 1 to 3: Excellent flying conditions. The magnetic field is completely calm.
- KP 4: Warning zone. You might experience minor GPS drops or slight drifting.
- KP 5 or higher: Danger zone. Professionals completely ground their machines during these storms.
If you try to calibrate your sensor during a high KP Index storm, the sensor will absorb highly corrupted data. It will basically learn a "broken" version of north.
There are many free smartphone apps available that show the daily KP Index in your area. Checking this simple number takes five seconds but can save you from a completely unexplainable mid-air flyaway.
When you capture that perfectly stable, beautiful aerial footage, the next big challenge is turning those raw clips into engaging content. You might realize that how bad video editing is secretly killing your YouTube money and how to fix it is a huge reality for many creators.
Processing massive 4K drone files also demands a lot of computer power. If your editing machine starts struggling, you must learn to diagnose and fix overheating issues in high-performance laptops to keep your workflow smooth.
By taking care of both your aerial hardware and your post-production setup, you guarantee long-term creative success. Sometimes, creators even use smart tools to plan their drone shots beforehand. You can generate high-quality conceptual art using AI to build a beautiful visual storyboard before you even launch your gadget into the sky.
The Costly Pre-Flight Blunders You Must Avoid
Even with the best intentions, beginners easily fall into common traps. These mistakes might seem completely harmless, but they can instantly ruin your flight experience.
Here is a detailed list of the five biggest blunders you must avoid at all costs:
1. The Indoor Setup Mistake
Many people try to perform this setup in their living room immediately after unboxing the product. This is a massive disaster waiting to happen.
Modern houses are built with wooden frames, but they are heavily packed with metal pipes, electrical wires, and Wi-Fi routers. These items create a massive invisible dome of magnetic interference.
If you complete the process indoors, your gadget will learn corrupted data. When you finally take it outside, it will heavily drift into trees or buildings. Always perform this setup outdoors in an open space.
2. Wearing Magnetic Accessories
We touched on this earlier, but it deserves deep attention. Modern technology is highly magnetic.
If you are wearing an Apple Watch, carrying a heavy set of keys, or wearing a magnetic belt buckle, you are acting as a walking interference tower.
Real-Life Example: A user once complained that his gadget would only spin in circles. It turned out he was wearing a heavy magnetic therapy bracelet on his right wrist while rotating the machine.
Take off your smartwatches and empty your pockets before you start the dance.
3. Calibrating Before Firmware Updates
Drone manufacturers regularly release software updates to fix bugs and improve stability.
A major mistake is calibrating the physical sensors, and then immediately downloading a massive firmware update. Major software updates often reset the internal sensor memory back to factory defaults.
Always check your mobile app for software updates first. Download and install them while sitting comfortably at home. Then, go out to your open field and perform the physical rotation.
4. The "Every Single Flight" Obsession
While skipping the process is bad, doing it too much can also cause weird issues. You do not need to perform the rotation routine every single time you swap a battery.
If you are flying in the exact same park all afternoon, leave the sensor alone. Constantly forcing the system to relearn its environment increases the chances of accidentally picking up a bad magnetic reading.
Only do it when you change locations or when the mobile app specifically warns you with an on-screen error message.
5. Launching From Unsafe Surfaces
After a perfect setup, people often ruin it by choosing a terrible launch pad. Placing your gadget on the roof of a car, a metal picnic table, or a concrete manhole cover for takeoff is a huge mistake.
Even if the calibration was perfect, sitting on metal before takeoff confuses the compass right at the most dangerous moment of flight. Always launch from plain grass, dry dirt, or a dedicated nylon landing pad.
Ready for Takeoff: Your Next Steps to Sky-High Success
You now have a complete, professional-level understanding of how to prepare your gadget for the skies. What used to be a confusing, scary process is now a simple, logical routine you can easily perform anywhere.
Remember, every successful professional pilot started exactly where you are today. They made mistakes, they felt nervous, but they learned the core rules of safety.
By simply finding a clear field, leaving your metal accessories in the car, and moving smoothly through the rotations, you instantly remove ninety percent of the risks associated with new flights.
Your machine is an incredible piece of modern technology designed to capture beautiful moments. It wants to hover safely just as much as you want it to.
You simply have to give it the correct environmental data to do its job properly.
So, charge up your batteries, check the solar weather, and head out to an open, grassy field. Follow these exact steps with confidence and patience.
Your very first flight is going to be incredibly smooth, deeply rewarding, and completely stress-free. Happy flying, and enjoy capturing the world from an amazing new perspective!
Trust me, building this quick routine into your flight habit gives you an unbelievable amount of confidence in the air. Grab your gear, head out to a clean grassy field today, and enjoy the absolute joy of a perfectly stable flight!
Disclaimer: This article is for educational and informational purposes only. Drone technology, software settings, and flight conditions vary by manufacturer and location. Always consult your drone's official user manual and follow all local aviation guidelines (such as the FAA) before operating your aircraft.