The Frustrating Reality of a Blank Virtual World
Imagine this exact scenario. You just cleared your schedule for a well-deserved gaming session after a long, exhausting week. You put on your gear, adjust the head straps perfectly, and wait for the immersive digital world to load.
But instead of a vibrant virtual environment, you are staring into absolute darkness. A complete, endless void. Your device is clearly powered on, and you might even hear the game audio playing perfectly in the background. However, the display remains completely dead.
This sudden blackout is not just annoying; it completely ruins your excitement and momentum. You spent a significant amount of hard-earned money on this technology, expecting a magical escape from reality. Instead, you are left holding an expensive piece of plastic that simply refuses to work. The disappointment hits incredibly hard when your anticipated adventure turns into an unexpected technical nightmare.
Most users panic immediately when they face this display issue. They quickly search online, only to find confusing forums and highly outdated advice. This flood of unhelpful information creates more problems than it actually solves.
I still remember the first time my VR headset went completely pitch black right in the middle of a weekend gaming session. My heart sank, and I spent hours frantically searching through ancient forum threads thinking I had just burned through hundreds of dollars. Trust me, I know that terrifying feeling of staring into the void all too well, but you are not alone in this.
- Overcomplicated technical jargon leaves average users feeling completely lost and deeply helpless.
- Scattered forum replies often contradict each other, making it impossible to know which step you should follow first.
- Dangerous DIY suggestions, like taking the device apart with a screwdriver, can instantly void your warranty and permanently destroy the hardware.
- Ignoring the simple basics happens constantly because many online guides assume you already know advanced technical troubleshooting techniques.
Dealing with these unexpected tech failures takes a serious toll on your mental comfort and daily peace. Gaming is supposed to be your safe space and a way to relax, not a source of extreme stress.
- Fear of a broken device constantly circles in your mind, making you worry about incredibly expensive repair or replacement costs.
- Loss of confidence in your technology makes you hesitate to use your gear, fearing it might suddenly break again at any moment.
- Stolen personal time hurts the most, as your relaxing evening turns into hours of deeply frustrating internet searches.
- A lingering sense of regret might even make you wonder if buying this expensive virtual setup was a massive financial mistake.
The Ultimate Diagnostic and Repair Protocol
When your display goes completely dark, it is incredibly easy to assume the worst. However, I want to reassure you that a dead screen rarely means your hardware is permanently broken. In most cases, the hardware is perfectly fine, but it is waiting for the right signal to wake up.
We are going to walk through a highly logical, step-by-step diagnostic process. I will show you exactly how to identify the root cause of the problem without needing a degree in computer engineering. We will start with the easiest fixes and slowly move toward the more advanced solutions.
1. The Proximity Sensor Illusion
Before you start unplugging cables or updating software, you need to check the most common and overlooked culprit. Every modern virtual reality gear has a tiny optical sensor built right between the lenses. This is called the proximity sensor.
This little sensor acts like a security guard for your screens. Its only job is to detect when your face is actually inside the device. If it does not sense your forehead, it tells the screens to stay off to save battery and prevent screen burn-in.
Sometimes, this sensor gets confused. A small piece of dust, a smudge of sweat, or even a poorly positioned silicone face pad can trick the sensor into thinking the headset is sitting empty on your desk. When this happens, the screens will simply refuse to turn on.
How to fix this immediately:
Take a dry, clean microfiber cloth and gently wipe the space exactly in the middle of your two lenses. Make sure your facial interface cushion is pushed all the way into its proper plastic clips. Put the gear back on your head and adjust it slightly up and down to see if the screens wake up.
Pro Tip: You can easily test if the proximity sensor is the real issue. Simply place your thumb directly over the sensor while looking through the lenses. If the display suddenly flashes to life, you instantly know your screens are perfectly fine.
I used to make the silly mistake of pulling my entire headset apart every single time the screen wouldn't turn on. A quick wipe of that tiny sensor with a clean cloth saved me from sending my gear to repair three different times. Always check the easiest physical fixes first before you start messing with your computer settings!
Myth vs Reality: The Broken Screen Fear
The Common Myth: A completely dark display means the internal OLED or LCD panels are physically shattered or burned out, requiring a very expensive factory repair.
The Actual Reality: Internal display panels are protected by thick lenses and heavy plastic housing, making them very hard to break. More than 80% of display failures are actually caused by simple software sleep-mode glitches or a dirty proximity sensor.
2. The Cable Handshake Protocol (For PC Users)
If you are using a tethered device connected to a computer, the physical cable is your absolute lifeline. This cable does not just carry power; it carries a massive amount of visual data every single second. Think of your connection cable like a high-pressure water hose.
If there is even a tiny kink in that hose, the water stops flowing. Similarly, if your cable is twisted, bent too sharply, or slowly pulling out of the port, the visual data gets interrupted. The audio might still work because it requires very little data, but the heavy visual data fails entirely.
Computers and external displays use something called a "handshake protocol" when they connect. They send secret digital signals back and forth to confirm they recognize each other. If the cable is loose by even a millimeter, this handshake fails, and your computer refuses to send the video feed.
Your Action Plan:
Completely unplug the cable from both your computer and the headset itself. Yes, you need to unplug the side that connects directly into the headset, which often requires removing the facial cushion first. Inspect the metal connectors for any bent pins or strange debris.
Plug everything back in with a firm, solid push until you feel a satisfying click. Always plug the USB cable in first, wait five seconds for the computer to recognize the device, and then plug in the DisplayPort or HDMI cable. This specific order helps the digital handshake happen smoothly.
3. Breaking the Sleep Mode Coma
Sometimes, your device gets stuck in a deep state of confusion. Modern electronics are designed to enter a low-power sleep state when you take them off. However, software bugs can easily trap the operating system in a permanent sleep loop.
The device thinks it is awake because the lights are on, but the display driver remains fully asleep. This is essentially a digital coma. Pressing the power button once will not fix this, because a normal button press just tells the system to go back to sleep.
You need to perform a hard reset, which forces the internal motherboard to physically cut power to all components and start entirely fresh. This clears out the temporary memory where the glitch is currently hiding.
If you prefer to see how this works in real-time, check out this quick step-by-step video guide below! Watching the exact reset process will help you follow along easily before reading the rest of our tips.
How to perform a hard reset safely:
Leave your device completely unplugged from any wall charger or computer. Press and hold the physical power button on the side of the headset. Do not let go after three seconds.
You must keep holding that button down for a full 30 to 45 seconds. Keep holding it even if you see a logo flash or hear a small beep. Once the time is up, let go, wait exactly one minute, and then press the power button normally to turn it back on.
A Quick Diagnostic Checklist
To help you organize your troubleshooting process, keep this simple checklist in mind before moving to advanced computer settings:
- Check the audio: Do you hear menu sounds when you move the controllers? (If yes, the device is on, but the screen is off).
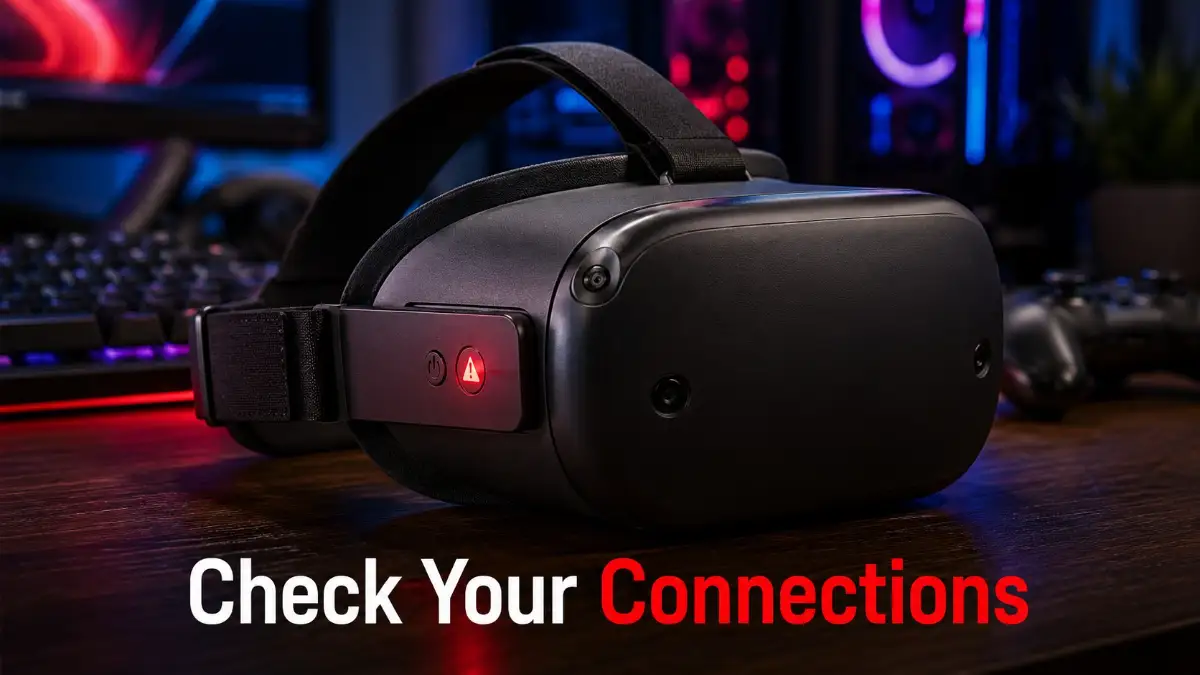
- Look for the light: Is the tiny LED indicator light white, green, or red? (Red usually means a dead battery, not a dead screen).
- Inspect the lenses: Is there any visible physical crack deep inside the glass? (If no, your hardware is likely safe).
- Try the thumb test: Did you cover the inside sensor with your finger to force the screen awake?
4. USB Power Management Restrictions
If your gear connects to a Windows PC, the problem might actually be your computer's hidden battery-saving features. Windows has a very aggressive habit of turning off power to USB ports to save electricity. It does this automatically in the background without ever asking your permission.
When you put on your gear, it suddenly asks the computer for a massive surge of power to light up those high-resolution screens. If Windows has restricted that specific USB port, the device starves for power. It gets enough juice to turn on the tracking lights, but not enough to fire up the dual displays.
This creates a highly frustrating situation where everything looks normal on your computer screen, but your lenses remain dark. You have to manually tell your computer to stop turning off the power.
Fixing this inside Windows:
Right-click on your Start menu and open the Device Manager. Scroll down until you find the section called "Universal Serial Bus controllers" and click the little arrow to expand it. You will see several items named "USB Root Hub".
Right-click on the first USB Root Hub and select Properties. Go to the Power Management tab at the top. You will see a small checkbox that says "Allow the computer to turn off this device to save power."
Uncheck that box immediately and click OK. You need to repeat this exact process for every single USB Root Hub listed in that menu. Once you finish, restart your computer completely. This ensures your ports deliver maximum, uninterrupted power exactly when your screens need it.
5. The Graphic Driver Conflict
Your graphics card is the absolute brain behind your virtual experience. It works incredibly hard to render two separate images at very high frame rates. To do this properly, it relies on software drivers. Think of drivers as the language your graphics card uses to speak to your headset.
If that language gets corrupted during a recent Windows update, the graphics card simply stops knowing how to send the video signal. The connection gets broken, and you get a black display. Sometimes, even updating to the newest driver can cause this, especially if the new driver has unknown bugs.
In these specific scenarios, you do not need new hardware. You simply need to clean out the old, corrupted language and install a fresh set of instructions.
This requires you to download the official software for your specific graphics card brand. During the installation process, you must look for an option called "Perform a clean installation." This small check box will wipe away all the broken files before installing the new ones, giving your displays a completely fresh start.
Advanced Hardware Diagnostics and Pro-Level Fixes
If you have tried the basic connection checks and your display still refuses to wake up, do not lose hope just yet. We are now going to look at the advanced software mechanics that operate quietly in the background of your device.
Many users completely overlook these hidden settings. However, adjusting a few simple software configurations can often bring a dead screen back to life in seconds. I am going to share some expert-level secrets that repair technicians use every single day.
The Hidden Beta Software Trap
Technology companies love to test new features before releasing them to the general public. They do this by offering "Public Test Channels" or beta software updates. Many gamers eagerly sign up for these beta programs to experience new menus or experimental tracking updates early.
Unfortunately, beta software is highly unstable by definition. It is full of hidden coding errors and unexpected bugs. A single poorly written line of code in a beta update can easily crash your display drivers, resulting in an immediate black screen.
If your device is currently enrolled in a beta program, you need to opt out immediately. Open your official companion app on your smartphone or computer. Navigate to the advanced device settings and completely disable the Public Test Channel option.
Once you turn this off, your device will automatically download the stable, official version of the operating system. Let the software downgrade finish completely, and then restart your headset. This simple rollback fixes display crashes for a massive number of users.
Overheating and Thermal Display Throttling
Virtual reality gear is incredibly demanding on hardware processors. You are essentially wearing a high-powered gaming computer directly on your face. When you play heavy, graphically intense games, the internal processor generates a massive amount of heat.
Every modern headset has a built-in safety mechanism called thermal throttling. If the internal motherboard gets too hot, the system will intentionally shut down the displays to prevent the plastic and silicon from actually melting. Your device is not broken; it is simply trying to save its own life.
If you feel intense heat radiating from the front plastic shield of your gear, take it off immediately. Place the device in a cool, well-ventilated room and let it rest for at least forty-five minutes. Similar to diagnosing thermal limits and hardware cooling in a standard computer, managing your headset's temperature is necessary for consistent performance.
The Factory Reset: Your Final Software Lifeline
Sometimes, the operating system gets so deeply corrupted that normal restarts simply cannot clear the error. You might have downloaded a bad game file, or an automatic background update might have failed halfway through. When a software glitch gets permanently stuck in the system registry, you have to wipe the slate clean.
This brings us to the factory reset. A factory reset will completely erase everything on your device, returning it to the exact state it was in when you first opened the box. You will lose your downloaded games, saved data, and custom settings.
Because of data loss, this should always be your absolute last resort. However, if your screen remains black after trying every other step, a factory reset is often the only way to revive the hardware.
How to perform a clean factory wipe:
While your device is completely powered off, press and hold the power button and the volume down button at the same exact time. Keep holding both buttons until a secret, text-only boot menu appears on your screen. Use the volume buttons to scroll down to the "Factory Reset" option.
Press the power button once to select it, and then confirm your choice. The device will take a few minutes to erase the corrupted software and rebuild the basic operating system. Once it finishes, you can log back into your account and redownload your favorite titles.
Long-Term Maintenance for Peak Performance
Fixing a black screen is a great relief, but keeping your gear healthy for the long term requires a solid maintenance routine. You should actively manage how your device interacts with your computer and its own internal battery.
Never leave your headset plugged into a wall charger overnight. Constant overcharging creates excessive heat and slowly destroys the internal power cells. Learning about maximizing device battery lifespans will save you from sudden power failures during your gaming sessions.
Additionally, always use premium data cables if you play connected to a PC. Cheap, gas-station-quality USB cables simply cannot handle the massive data flow required for virtual gaming. They will drop the video signal randomly, leaving you staring into darkness. Investing in a highly rated, fiber-optic link cable guarantees a smooth and uninterrupted video feed.

Dangerous Pitfalls That Will Destroy Your Gear
When average users encounter a tech problem, frustration often leads them to make terrible, impulsive decisions. I have seen countless gamers permanently destroy their expensive setups because they followed bad advice or acted out of anger. You must absolutely avoid these common, catastrophic mistakes.
The Sunlight Death Trap
This is the single most common way people destroy their virtual reality screens permanently. The thick glass lenses inside your headset act exactly like strong magnifying glasses.
If you leave your device sitting on a couch near an open window, direct sunlight will hit those lenses. The glass will focus the sun's rays into a highly concentrated laser beam directly onto the internal digital display. This will literally burn permanent black holes and purple streaks into your screen within less than thirty seconds.
Once sun damage destroys an OLED display panel, no software reset will ever fix it. You must always store your gear in a dark, zipped case or a closed drawer the second you finish playing.
Using Chemical Cleaners on Sensors
When the proximity sensor gets dirty, many people immediately grab a bottle of glass cleaner or rubbing alcohol. This is a massive mistake. The proximity sensor and the surrounding lenses are coated with a highly sensitive anti-glare film.
Harsh liquid chemicals will instantly melt this protective film and permanently cloud the plastic sensor housing. When the sensor housing gets cloudy, it can no longer detect your face at all. Always use a dry, clean microfiber cloth to wipe the inside of your device. Never use liquids, paper towels, or your sweaty t-shirt.
Ripping Cables by the Cord
When you finish a frustrating troubleshooting session, it is easy to just yank the connection cable out of the port from a distance. Pulling a cable by the flexible cord instead of the solid plastic plug causes severe internal damage.
This aggressive pulling stretches the microscopic copper wires inside the cable until they finally snap. You might not see any outside damage, but the internal data connection will be completely ruined. Always grip the solid plastic connector firmly and pull straight out.
Ignoring Physical Comfort Limits
Sometimes, display glitches are actually caused by dropping the headset due to sudden dizziness or losing balance in the real world. Physical impacts will easily loosen the internal ribbon cables that connect the mainboard to the screen.
If you start feeling dizzy or unbalanced, do not try to push through the discomfort. Take off the gear safely and place it on a secure desk. Following proper methods to prevent virtual reality nausea ensures you stay grounded and prevents accidental drops that shatter internal screens.
Your Master Action Plan for Flawless Gaming
We have covered a massive amount of technical ground today, but you now hold the exact knowledge needed to conquer these frustrating display issues. A dark screen feels incredibly intimidating at first, but it is rarely the end of your gaming journey.
Most black screen events are just minor software disagreements or simple physical misalignments. By following a calm, logical diagnostic process, you take complete control of your technology. You no longer have to rely on confusing forums or panic about expensive hardware replacements.
Let us quickly review your ultimate troubleshooting game plan.
The Quick Diagnostic Routine
- Clean the sensor: Always start by wiping the small proximity sensor between the lenses with a dry microfiber cloth.
- Check the physical connections: Unplug and firmly reconnect every single cable, ensuring the digital handshake happens smoothly.
- Force a hard reboot: Hold that power button down for a full thirty seconds to clear out temporary software comas.
- Manage computer settings: Stop Windows from turning off your USB power, and always perform clean graphics driver installations.
- Protect the hardware: Keep those lenses far away from direct sunlight and never use harsh liquid chemicals for cleaning.
Technology should always serve you, not stress you out. The next time your virtual world refuses to load, take a deep breath and remember the steps we discussed. Start with the easiest hardware checks and slowly work your way toward the advanced software settings.
You are now fully equipped to handle these unexpected tech glitches like a seasoned professional. Go ahead, apply these simple fixes right now, and get back to enjoying your immersive digital adventures. Your fully functional, vibrant virtual reality experience is waiting for you just behind that power button.
Don't let a temporary black screen ruin your love for virtual reality or make you regret your purchase. Take a deep breath, go through these simple steps one by one, and you will be back in your favorite game in no time.
Disclaimer: This guide on how to fix a black screen on your VR headset is for educational and informational purposes only. While these troubleshooting steps are designed to be safe and beginner-friendly, handling hardware or altering device settings carries inherent risks. Please consult your device manufacturer's official support guidelines if you suspect severe hardware damage. The author is not responsible for any accidental damage, loss of data, or voided warranties resulting from the use of this guide.