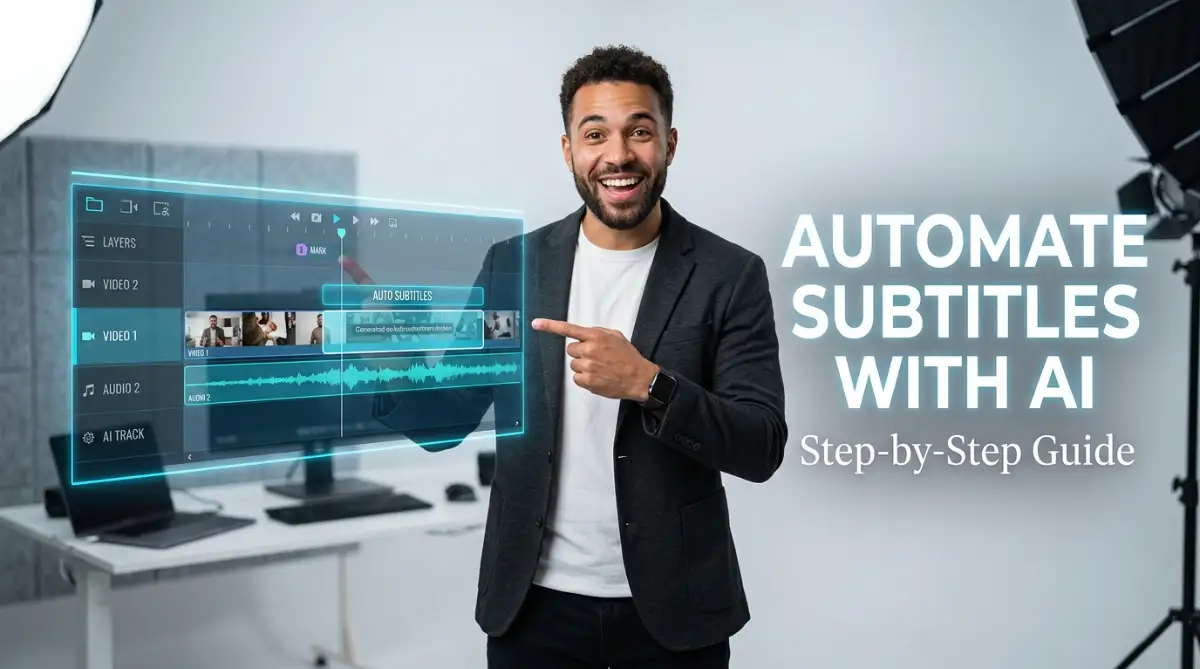
The Exhausting Reality of Manual Video Captions
Have you ever spent hours staring at a computer screen, pausing and playing a video just to type out a single sentence? You are definitely not alone in this frustrating process. Many content creators start their editing journey full of energy, only to feel completely drained when it is time to add captions.
I remember sitting at my desk at 2 AM, practically crying over a five-minute video because I had to type out every single word I said. My wrists hurt, my eyes were burning, and I honestly felt like quitting YouTube altogether. That night, I realized my video editing process was completely broken, and I desperately needed to find a faster way to get my thoughts on screen.
We often think that making a video is all about shooting good footage and cutting the clips together. However, the hard truth hits when you realize you need accurate text on the screen for better engagement. Manual typing is an incredibly slow and painful task that steals the joy out of content creation.
Why do so many beginners fail to find a proper solution? Mostly, it happens because of misleading advice and overly complicated software tutorials. Here is why wrong information keeps people stuck in the manual typing loop:
- Expensive Software Myths: Many blogs claim you need to buy a $300 editing program just to get decent captions. This forces beginners to stick to typing by hand because they cannot afford the premium price tag.
- Fear of Technical Setup: Some tutorials make auto-captioning look like a complex coding process. When everyday creators see confusing audio mapping terms, they simply give up and go back to what they know.
- Trusting Flawed Free Tools: Sometimes, people try completely random, low-quality web tools that give terrible text output. After spending hours fixing misspelled words, they assume all automatic tools are just as bad.
- Ignoring Native Features: A lot of creators do not realize that the basic video editors they already use have hidden text generation features. They download third-party apps needlessly, breaking their normal workflow.
- Bad Audio Practices: Nobody tells beginners that bad microphone quality ruins text generation. They blame the software for getting the words wrong, without knowing how to prep their audio first.
This ongoing struggle does much more than just waste your valuable time. It actually takes a massive toll on your mental peace and overall confidence as a digital creator. Let us look at how this hidden stress builds up behind the scenes:
- Burnout Before Publishing: By the time you finish typing the last sentence, you are too exhausted to create a proper thumbnail or description. The creative excitement completely vanishes.
- Inconsistent Upload Schedules: Because adding text takes three extra hours, you start missing your planned posting days. This inconsistency slowly kills your channel's growth and reach.
- Imposter Syndrome: You watch top creators upload highly polished videos with animated text every single day. You start doubting your own skills, thinking you will never be able to keep up with their quality.
- Physical Strain: Constantly rewinding a two-second audio clip to catch a mumbled word causes extreme eye strain and back pain. Editing turns from a fun hobby into a physical chore.
- Compromising on Quality: To save time, you might eventually decide to skip captions entirely. This single decision immediately cuts off a massive portion of your potential audience who watch videos on mute.
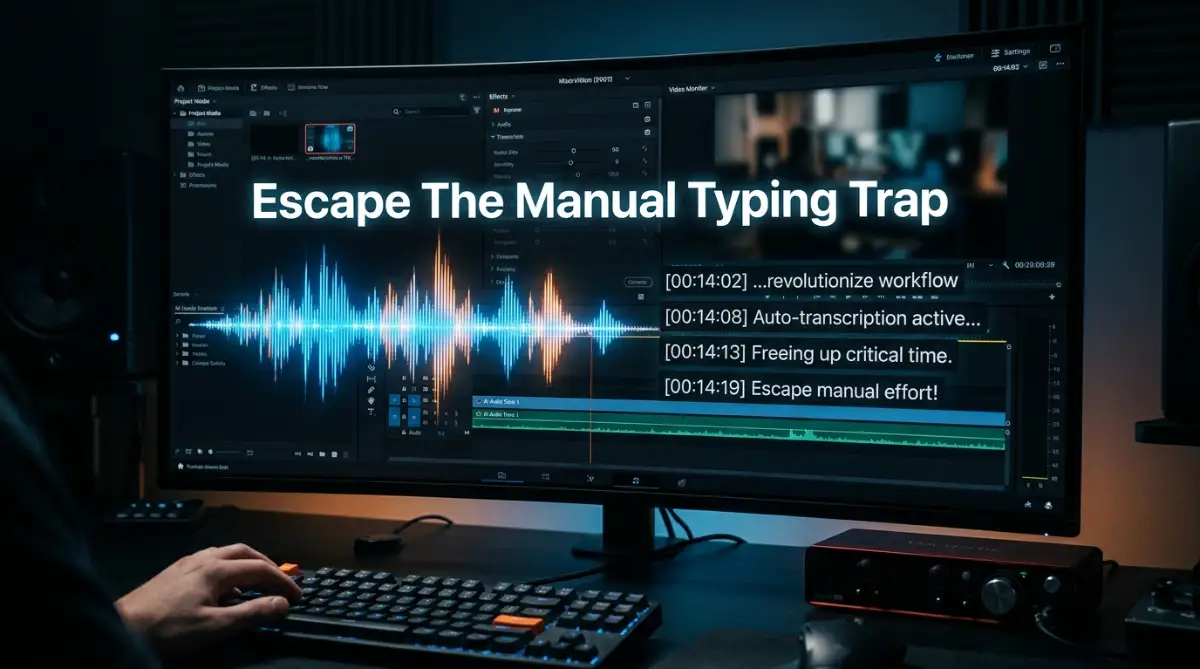
Phase 1: Preparing Your Audio for Perfect AI Recognition
Before you click any magic buttons, you need to understand how artificial intelligence actually listens to your voice. Just like a human, an automated system struggles to understand you if you are speaking in a crowded, noisy room. The secret to getting highly accurate text is feeding the system a clean, clear voice track.
If you give the computer terrible audio, it will give you terrible text. It is a simple concept, but people skip this step all the time. Your main goal is to isolate your voice from the background music and sound effects.
Let me share a quick real-life scenario. Imagine you recorded a vlog near a busy highway with heavy wind blowing into your microphone. If you run that raw file through an automatic transcriber, the system will guess random words based on the wind noise. You will spend more time fixing the messy text than you would have spent typing it manually.
To prevent this, always handle your voice track separately. Mute all your background music tracks in your editing timeline first. Ensure only your voice recording is active and clearly audible.
Next, use a basic noise reduction filter on your voice clip. Almost every modern editing program has a simple slider that removes background hums or static sounds. By lowering that background hiss, you give the artificial intelligence a clear path to recognize your exact words.
Finally, check your audio volume levels. The speech should be loud enough, sitting comfortably in the green or yellow zones of your audio meter. If your voice is too quiet, the system might skip entire sentences simply because it did not detect any sound.
If you are a visual learner, watch this quick video to see exactly how I push these buttons to make text magically appear on my screen! Once you finish watching, keep reading below to learn how I fix the awkward timing issues that automated tools sometimes create.
Phase 2: Activating the Auto-Caption Engine
Now that your audio is crisp and clean, it is time to let the machine do the heavy lifting. The exact button placement will look slightly different depending on your chosen software, but the core process remains exactly the same. We will focus on the universal steps that apply to almost every modern application.
First, look for the text or captioning workspace in your main menu. Usually, you will find a dedicated tab labeled something like "Text", "Captions", or "Subtitles" right above your media library. Clicking this will open up a new side panel focused entirely on words.
Inside this panel, you are looking for the auto-generate button. It might be called "Create Auto Captions" or "Speech to Text". Once you click it, the software will ask you a few simple setup questions before it begins scanning.
Pro Tip: Pay close attention to the language settings in this pop-up box. If you are speaking British English but the software is set to American English, it might misspell certain words like "colour" or "favour". Always select the exact language and regional accent you used in the recording.
You might also see an option to choose a specific audio track. Select the track where your cleaned-up voice recording lives. Once everything is set, hit the confirm button and step back from your keyboard.
Depending on the length of your video, this processing time usually takes anywhere from a few seconds to a couple of minutes. You will see a progress bar indicating that the system is analyzing the audio waves. When it finishes, a brand-new text track will magically appear right on top of your editing timeline.
Phase 3: The Myth vs Reality of "100% Accuracy"
At this point, many beginners make a massive mistake. They assume the generated text is completely flawless and immediately render their video. This is a dangerous trap that can make your final content look highly unprofessional to your viewers.
Myth: Artificial intelligence is smart enough to understand every single word perfectly, including complex names, brand terms, and heavy slang.
Reality: Even the best systems in the world have an accuracy rate of around 90 to 95 percent. The machine will always make silly mistakes, especially with proper nouns or fast-spoken phrases.
I used to blindly trust these smart tools and once uploaded a video where my AI assistant hilariously misspelled my own brand name for ten straight minutes. I felt so embarrassed when my subscribers pointed it out in the comments! Now, I always grab a cup of coffee and do a quick five-minute spelling check before hitting that publish button.
You must accept that the computer acts as your rough draft assistant, not your final proofreader. Your job now shifts from being a typist to being an editor. You need to review the text track from start to finish, keeping a close eye out for obvious errors.
For example, if you mentioned the name of a local restaurant or a specific tech brand, the software will likely spell it phonetically. "PlayStation" might turn into "Play Station", or a unique name like "Katelyn" might become "Caitlin". These small errors disrupt the reading flow for your audience.
Play your video from the beginning and watch the text on the screen carefully. When you spot a mistake, simply double-click the incorrect word in your caption panel and retype it correctly. Because you are only fixing a few words here and there, this review process takes a tiny fraction of the time compared to typing everything from scratch.
Phase 4: Fixing Awkward Timing and Line Breaks
Getting the spelling right is only half the battle. The other major factor for engaging captions is how they actually appear visually on the screen. Sometimes, the computer chops your sentences in completely unnatural places.
Imagine reading a sentence that breaks right in the middle of a thought. For instance, the screen shows "I really want to go" and then flashes to "to the store today." This kind of rapid, broken flashing is very hard on the eyes. It distracts the viewer from the actual visual content of your video.
Your goal is to make the text flow comfortably, just like a well-printed book. You can manually adjust the length of each text block on your timeline. If a specific caption disappears too quickly, simply drag the edge of the text clip to make it stay on the screen a little longer.
You should also combine short clips into slightly longer, meaningful phrases. Most software allows you to merge two caption boxes together. By keeping a full thought on the screen at once, you help your audience process the information smoothly.
Try to keep your text to a maximum of two lines per screen. If a text block has three or four lines, it covers up way too much of your visual footage. Break those massive text blocks apart by splitting the caption into two separate clips directly on your timeline.
Phase 5: Designing Text for Maximum Visual Impact
Now that your words are perfectly accurate and timed beautifully, you get to focus on the fun part. Raw, default text often looks very boring and plain. To truly grab your viewer's attention, you need to apply some smart styling choices.
Think about the environment where your audience will watch this content. Most people watch on small mobile screens while sitting in bright areas, like on a bus or in a park. If your text is thin and white with no background, it will become completely invisible against bright skies or light-colored walls in your footage.
Start by choosing a bold, highly readable font. Stay away from fancy cursive or thin elegant styles. You want thick, blocky letters that are incredibly easy to read from a distance.
Next, add a dark element behind your words to make them pop out. You have a few great options for this. You can add a thick black stroke around the edges of the letters, drop a soft shadow behind them, or place a dark, semi-transparent box completely behind the text block.
By adding this contrast, you ensure your automated text remains clearly visible no matter what happens in the background of your video. You have successfully transformed a stressful manual chore into a fast, creative, and highly professional workflow.
Pushing Your AI Subtitles to the Next Level
You have successfully generated accurate text and styled it to look beautiful on screen. However, you do not want to stop at the basic level. The real magic happens when you start using advanced animation techniques to keep your audience completely hooked.
Static text is fine, but moving text grabs human attention instantly. Think about the classic karaoke screen where the words light up exactly as the singer hits the note. You can recreate this exact same effect using modern intelligent video tools with just one click.
Look for a feature called "Dynamic Highlighting" or "Active Word Tracking" in your text panel. When you apply this setting, the machine highlights the specific word you are speaking in real-time. The text might change from white to bright yellow, or pop up slightly larger as you say it.
This simple animation acts like a bouncing ball for the viewer's eyes. It forces them to read along with your voice, making it nearly impossible for them to scroll away. Audience retention rates skyrocket when viewers actively read and listen at the same time.
You should also consider the massive power of automatic translation. Once your base English captions are perfect, many software options allow you to translate that text into Spanish, French, or Hindi instantly. This opens up your content to millions of new viewers around the world who previously could not understand your videos.
Of course, using all these advanced artificial intelligence tools requires serious computing power. Running heavy speech-to-text processing or rendering animated graphics can push your computer to its absolute limits. You will quickly notice your computer fans spinning loud like a jet engine.
When your laptop struggles to process heavy editing tasks, the internal temperature rises rapidly. Knowing how to diagnose and fix overheating issues in high-performance laptops will save your machine from permanent hardware damage. A cool computer simply renders video files much faster than a hot one.
Similarly, relying on heavy software without plugging into a power source will drain your power entirely in less than an hour. Running these intense algorithms regularly means you really need to stop ruining your laptop battery proven steps for maximum life. Simple charging habits make a huge difference for daily video creators.
Finally, think about where you actually prefer to do your editing work. Many creators love taking their laptops to a local coffee shop to use cloud-based automated editing tools. While this sounds incredibly relaxing, it actually introduces a massive security risk to your unreleased content.
Uploading gigabytes of raw video files over a public coffee shop network leaves your data completely exposed to hackers. Take a minute to learn what is a vpn and how it protects your online privacy on public networks before you start uploading. A secure connection guarantees that your hard work stays private until you are officially ready to publish.
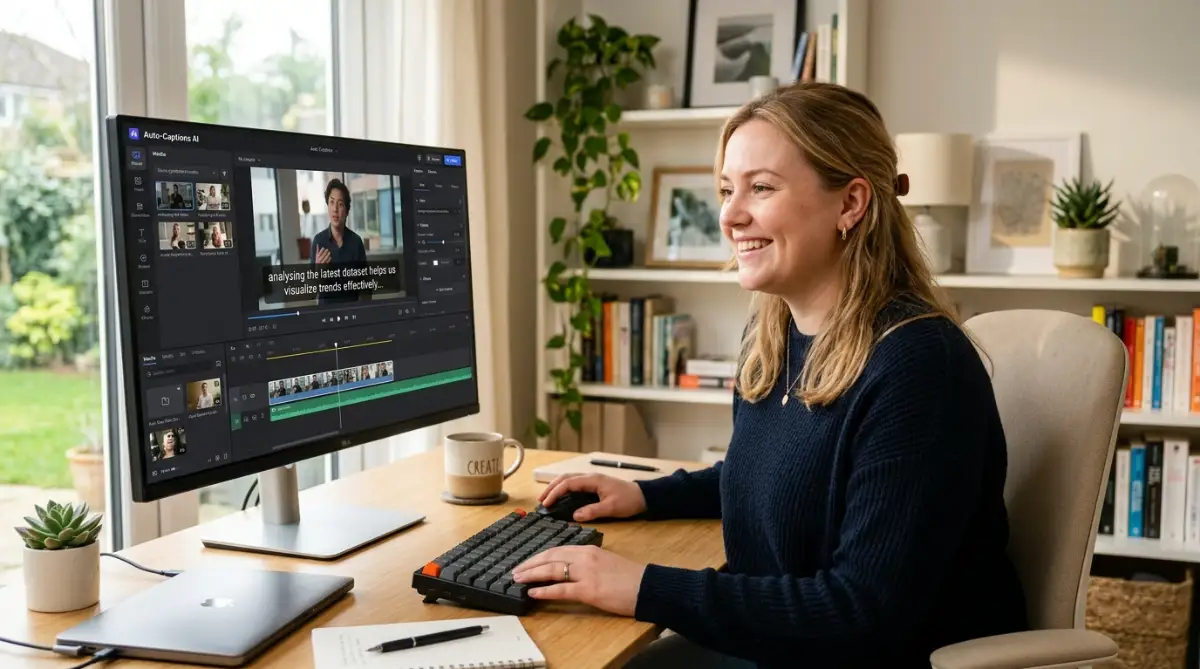
Silent Traps That Ruin Automated Captions
Even with the smartest software available, the human element still dictates whether a video succeeds or fails. Technology simply follows your direct commands. If you give it poor instructions, you will end up with an unwatchable mess.
We see talented creators make the exact same formatting mistakes over and over again. These errors immediately annoy viewers and cause them to swipe away within the first three seconds. Let us look at a few realistic scenarios and how you can easily avoid these common pitfalls.
The "Safe Zone" Violation
Imagine you are watching a short vertical video on your phone. You see the creator speaking, but their beautiful captions are completely covered by the "Like" button and the video description. This is a classic safe zone violation.
Different platforms have different user interface layouts. If you place your text too low, the app's comment section will block it completely. Always position your text right in the middle of the screen, or just slightly below the speaker's chin, to ensure it remains perfectly visible everywhere.
Destroying the Comedic Punchline
Comedians know that timing is everything. If you are telling a funny story, the punchline needs to hit the viewer's ears and eyes at the exact same moment. Unfortunately, automatic software does not understand humor at all.
Often, the machine will display an entire ten-word sentence on the screen at once. The viewer reads the punchline in half a second, long before you actually speak the funny words. To fix this, you must manually chop the text block right before the joke, forcing the final words to appear on a brand-new screen.
Ignoring Accessibility Standards
Many creators forget why captions were invented in the first place. They are not just a trendy marketing tool; they are a necessary tool for millions of people with hearing impairments. Using tiny fonts or poor color contrast makes your content completely inaccessible to this audience.
According to the web accessibility guidelines outlined by the W3C, high contrast between text and background is absolutely necessary for readability. Always use thick, legible fonts and avoid using wild neon colors that strain the human eye. Your goal is extreme clarity, not just artistic expression.
The Over-Animation Distraction
We talked earlier about the benefits of animating your text to keep viewers hooked. However, there is a very fine line between engaging and incredibly annoying. Adding crazy explosive animations to every single word will just give your viewers a headache.
If your text shakes, spins, and flashes bright red constantly, the audience will completely stop looking at your face. The animation becomes the main focus instead of your actual message. Keep your motion effects subtle, smooth, and directly tied to the natural rhythm of your speaking voice.
Trusting Default Backgrounds
Sometimes the software automatically places a solid, heavy black box behind your words. While this makes the text highly readable, it also blocks a huge portion of your visual footage. If you are showing a cooking tutorial, that black box might completely hide the ingredients you are mixing.
Instead of a solid black block, adjust the background opacity to around fifty percent. A semi-transparent background still provides excellent reading contrast while letting the audience see the important action happening behind the words. It is a simple tweak that makes your final export look incredibly professional.
Your Action Plan for Faster Content Creation
You finally have all the knowledge needed to escape the exhausting trap of manual typing. By combining smart software tools with your own creative eye, you can cut your editing time down by hours. You no longer have to fear the final stages of the content creation process.
Remember that adapting to a new workflow always takes a little bit of practice. Your first attempt at using these smart text generation features might feel slightly clunky. However, after your third or fourth video, this process will feel like second nature.
To make things incredibly easy for your next editing session, keep this simple checklist right next to your computer:
- Clean the Audio: Always mute your background music and apply a noise reduction filter to your voice track before scanning.
- Generate and Review: Let the machine do the heavy typing, but always double-check the spelling of specific names and places.
- Adjust the Flow: Split long sentences into bite-sized chunks so the reader never feels overwhelmed by a wall of text.
- Design for Mobile: Make your font big, bold, and heavily contrasted against the video background.
- Check the Safe Zones: Keep your words floating near the center of the screen to avoid platform overlays.
Think about what you can do with all the extra time you are about to save. You can focus on brainstorming better video ideas, filming more footage, or simply taking a well-deserved break away from your bright monitor. Content creation is supposed to be a fun, expressive journey, not a miserable typing assignment.
Major business publications and studies highlighted by Forbes digital marketing insights consistently prove that silent video watching is completely dominating mobile behavior. If you want your message to actually reach people, clear and accurate on-screen text is your best tool. You are now fully equipped to capture that silent audience and grow your platform faster than ever before.
Go ahead and open your favorite editing software right now. Take a short, one-minute test clip and run it through the speech-to-text engine just to see the magic for yourself. Once you experience how fast and easy it really is, you will absolutely never go back to typing by hand again.
Finding this automated workflow completely changed my life and brought back the pure joy of making videos for me. I promise you, if you try this out today, you will be shocked at how much free time you suddenly have. Go give it a shot—you have absolutely nothing to lose and hours of free time to gain!
Disclaimer: The software methods and editing techniques discussed in this article are meant for educational purposes. Results may vary depending on the specific application version, microphone quality, and operating system used. Always ensure your hardware meets the minimum system requirements for running heavy video processing tools safely.