The Heart-Sinking Silence of a Dead Laptop Screen
I still get a cold sweat thinking about the morning my own laptop refused to turn on right before a massive work presentation. I sat at my desk pressing the power button over and over, completely frozen in fear as the clock kept ticking. That scary experience taught me how helpless we feel when our main work machine suddenly dies without any warning.
You sit down with your hot cup of coffee, completely ready to tackle a highly productive morning. You press the familiar power button on your laptop, fully expecting the screen to glow brightly. But instead, absolutely nothing happens. The screen stays pitch black, and the usual comforting hum of the cooling fan is completely missing.
Your heart suddenly skips a beat as you press the button again, a little harder this time. Still nothing. A cold wave of panic washes over you as you realize your primary workstation is completely dead. We depend so heavily on these machines for our daily tasks. When they suddenly refuse to wake up, our entire daily schedule instantly collapses into chaos.
I know this exact feeling all too well. I still remember last Tuesday when my laptop screen stayed totally black right before a major project deadline. My stomach dropped into a cold knot, and I sat there praying for a miracle. That terrifying moment taught me firsthand how helpless you feel when your primary work machine suddenly dies without warning.
Why Rushing for Quick Fixes Often Destroys Your Device
When sudden panic hits, people immediately rush to internet forums hunting for a fast miracle fix. Unfortunately, the web is heavily polluted with terrible advice that usually makes the situation much worse.
Here is why finding the right solution is incredibly difficult for regular users:
- Following outdated physical advice: Many old online guides tell you to forcefully pry open the laptop casing to check wires. This action easily snaps the fragile plastic clips on modern, ultra-thin laptops.
- Ignoring basic electrical logic: Amateurs frequently suggest buying a brand new replacement battery right away. They completely ignore testing the wall outlet or the charging cable first, wasting your hard-earned money.
- Dangerous static discharge risks: Untrained users often poke around the internal motherboard without wearing proper anti-static protection. A tiny static shock from your dry finger can instantly fry healthy internal microchips permanently.
- Confusing software with hardware: People waste hours trying random keyboard shortcuts to wake up a sleeping display. They completely fail to realize the machine has absolutely zero electrical power flowing through the motherboard.
The Heavy Mental Toll of a Sudden System Failure
A laptop refusing to power on is not just a frustrating daily technical glitch. It deeply affects your mental peace and quickly drains your self-confidence.
Here is how this silent black screen truly impacts your emotional well-being:
- Overwhelming data loss anxiety: Your mind immediately races to your unsaved documents, family photos, and important project files. The terrifying thought of losing years of digital memories leaves you feeling completely helpless.
- Unexpected financial dread: You instantly start calculating the heavy cost of professional repair shop fees. The rising fear of having to buy a completely new machine puts severe stress on your monthly budget.
- Intense professional embarrassment: Missing an urgent client meeting or submitting a college assignment late makes you look highly unreliable. Explaining that your computer magically died sounds like a very cheap excuse to bosses and strict teachers.
- Deep feeling of digital isolation: In our highly connected modern society, a dead laptop cuts you off from the working world. You suddenly feel stranded, unable to communicate effectively, complete tasks, or even relax properly.
The Expert Troubleshooting Protocol: Rescuing Your Dead Device
Before you rush to an expensive repair center in a panic, please take a deep breath. Most sudden power failures are actually caused by very simple electrical blockages or minor hardware glitches.
We are going to walk through a highly logical, step-by-step diagnostic process together. These exact testing methods are used by certified IT professionals in repair shops every single day.
By slowly isolating each potential variable, we can safely pinpoint the exact reason your computer is sleeping. You can easily perform these safe rescue steps right at your own desk.
Performing a Complete Hard Power Drain
Want to see how this process works in real life? Watch this short step-by-step video demonstration below to follow along safely, then read on for the remaining fixes!
You might easily assume your laptop is completely turned off just because the screen is dark. However, modern computer motherboards are designed to store tiny amounts of electrical charge inside small components called capacitors.
Sometimes, this stored residual energy gets stuck in an endless software loop. This frozen electrical state literally blocks the machine from accepting fresh power from your wall outlet.
The safest and most effective way to clear this invisible traffic jam is a hard power drain. Think of this physical process like clearing the pipes in a stubbornly clogged sink.
How to safely drain the static power:
We need to completely flush out the old, stagnant electricity so the fresh current can flow freely. To do this, first, unplug the main charger cable from the side port of your laptop.
Next, completely unplug all external devices currently attached to your machine. Remove your USB mouse, external hard drives, extra monitors, and even tiny SD memory cards.
These connected external accessories can actually feed small amounts of standby power back into the sleeping motherboard. If your laptop has a removable battery pack on the bottom, slide the latches and take it out immediately.
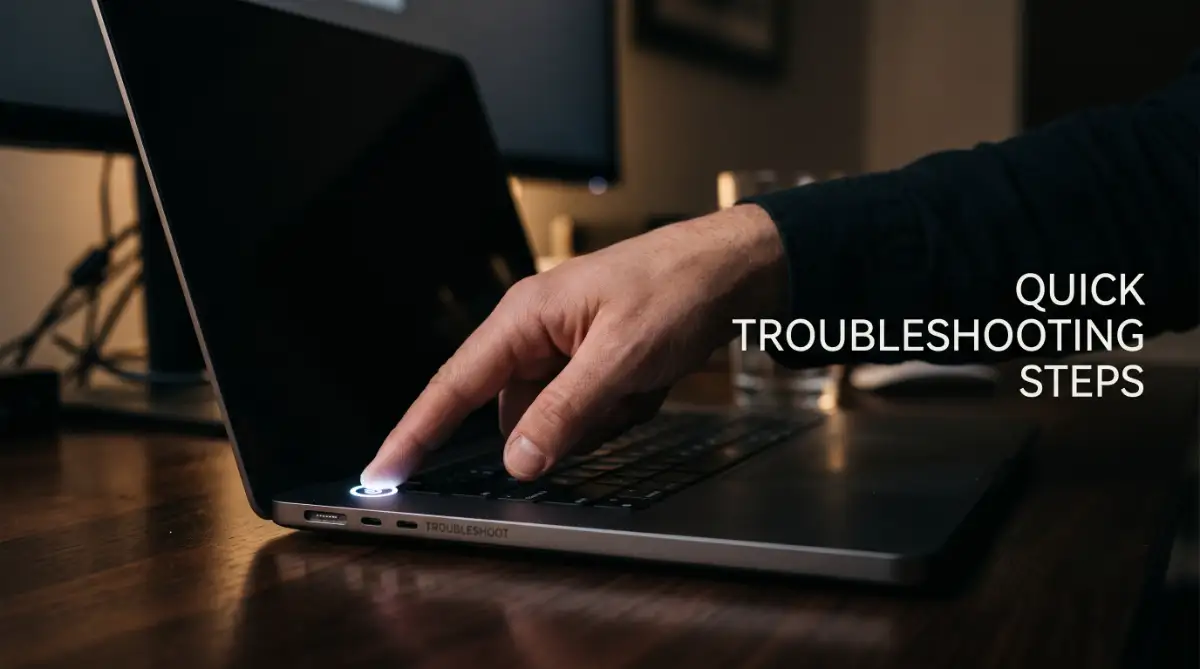
For most modern, ultra-thin laptops with sealed built-in batteries, simply ignore the battery removal step. Now, press your finger down on the main physical power button and hold it completely still.
Do not let go for a full sixty seconds. Use a digital timer on your phone to make absolutely sure you hold it long enough.
This extended button press physically forces the internal capacitors to drain every last drop of stored electricity. It completely resets the complex power management hardware built directly into the main logic board.
Once the full minute has passed, release the power button gently. Plug the main wall charger directly back into the laptop port.
Finally, press the power button once exactly like you normally would. In a surprising number of cases, the screen will instantly light up and boot perfectly. You just successfully cleared an electrical lockup without spending a single penny.

Inspecting the Power Supply Chain for Hidden Faults
Here is a quick truth I learned the hard way after almost spending $150 on an unnecessary battery replacement: always check your wall socket and charger cable first. I once spent two agonizing hours panicking over a dead computer, only to realize my pet had accidentally kicked the charger plug loose behind my desk.
If the hard reset trick did not work, our next logical step is to closely track the incoming electricity. A computer cannot turn on if it is completely starved of basic electrical power.
Many people immediately blame the expensive internal battery when the machine suddenly dies. In reality, the true hidden culprit is often the cheap charging cable or the house wall outlet itself.
We need to act exactly like an electrician and safely trace the current from the wall to the device. Start with the most obvious and frequently overlooked point of failure: your wall socket.
Testing the primary power source:
Unplug your laptop charger entirely from the wall. Grab a small bedside lamp, a phone charger, or a desk fan that you know works perfectly. Plug that testing device into the exact same wall outlet. If the lamp does not light up at all, you have just discovered your main problem.
A tripped circuit breaker or a simple blown fuse in your house is stopping the electricity from reaching the computer. If the wall socket works fine, carefully examine the entire physical length of your laptop charging cable. Run your fingers slowly along the rubber wire from the wall plug all the way down to the laptop connector tip. You are feeling for sharp kinks, heavy bends, or soft spots where the internal copper wires might be broken.
Pet owners should look very closely for tiny chew marks from playful cats or dogs. Even a microscopic physical break in the copper wire can completely stop the high-voltage electrical flow.
Next, look closely at the heavy rectangular box in the middle of your charger cable, known as the AC adapter brick. Most of these power bricks have a tiny LED indicator light built directly into the plastic case. Plug the charger into a confirmed working wall outlet. If that small light stays completely dark, the power brick is internally fried and completely dead.
It is no longer converting your dangerous household AC current into the safe DC current your laptop needs. You simply need to buy a certified replacement charger to fix the whole issue.
Listening for the Secret Language of Beep Codes
Sometimes, your laptop is actually trying extremely hard to turn on, but it is failing a built-in safety test. When you press the power button, the motherboard immediately runs a lightning-fast self-check called the POST.
This Power-On Self-Test rapidly scans the memory RAM, the main processor, and the video card to ensure they are healthy. If any of these essential parts fail the test, the computer intentionally halts the boot process to prevent a dangerous electrical fire.
Because the screen cannot turn on to show you a helpful error message, the motherboard uses a smart backup communication method. It directly speaks to you using a specific sequence of flashing LED lights or audible beeping sounds.
Decoding the motherboard signals:
This unique flashing system is essentially morse code for professional computer technicians. Pay very close attention to the small lights near your keyboard or the side charging port when you hit power.
Are they flashing in a highly repeating pattern, like three quick blinks followed by a long pause? If you hear loud beeps, grab a pen and quickly write down exactly what you hear.
For example, you might hear two short beeps, a distinct pause, and then one long beep. These precise rhythmic patterns are hardcoded directly into the computer chip by the original manufacturer.
They act as a highly accurate diagnostic roadmap telling you exactly what internal hardware piece just died. Once you record the specific light pattern or beep sequence, grab your smartphone.
Do a quick web search for your exact laptop brand and model followed by the phrase "diagnostic beep codes". You will easily find the official manufacturer chart decoding the secret message.
For instance, three continuous loud beeps on many popular models specifically mean the RAM sticks have become physically loose. If the code points to a memory issue, the actual fix is sometimes surprisingly easy.
You can carefully open the bottom panel of your laptop with a small Phillips screwdriver. Locate the flat, rectangular green RAM sticks clipped firmly into the motherboard.
Gently press the tiny side clips outward to release them, pull them out, and slide them firmly back in until they click loudly. This physical process quickly fixes poor electrical connections caused by normal bumps inside your backpack.
The External Monitor Trick to Rule Out Screen Death
It is highly possible that your internal computer hardware is functioning perfectly, but the built-in display panel has completely failed. The delicate data ribbon cable connecting the motherboard to your screen slowly wears down over time.
Every time you open and close the laptop lid, this fragile cable gets tightly pinched and bent. Eventually, the tiny internal wires snap entirely, cutting off all video signals to the monitor.
When this specific hardware failure happens, the laptop technically turns on, but you are staring at a completely dark void. You might even hear the Windows startup chime, but see absolutely nothing. To test this display theory, you need to connect your machine to an external monitor. Grab a standard HDMI or DisplayPort cable from your living room television set.
Plug one end securely into your television and the other end directly into the side port of your silent laptop. Make sure your TV input source is manually set to the correct HDMI channel using the remote.
Now, press the power button on your laptop and wait patiently for about two full minutes. Give the operating system plenty of time to boot up completely in the background. If you are using a standard Windows machine, press and hold the "Windows" key, then tap the letter "P" twice slowly. This specific keyboard shortcut manually forces the graphics card to send the video signal out to a secondary monitor.
If your familiar desktop wallpaper suddenly appears perfectly on your large television screen, you have isolated the exact problem. Your motherboard, processor, and hard drive are completely safe and working flawlessly.
You simply have a broken internal screen or a damaged mechanical display cable. You can now easily copy all your precious files onto a USB flash drive using the TV as your temporary monitor. This simple visual trick provides massive emotional relief. You now know with absolute certainty that your hard-earned data and important files are completely safe.
Don't let a dark screen steal your peace of mind or force you to rush out and buy a brand-new computer today. Take a deep breath, run through these simple tests right at your desk, and you just might bring your sleeping laptop back to life in less than ten minutes!
Disclaimer: The troubleshooting guide provided in "Laptop Won't Turn On? Try These Simple Troubleshooting Steps" is intended for general educational and informational purposes only. While these basic diagnostic steps are safe for most standard laptops, always exercise caution when dealing with electrical power sources. If your device is currently covered under a manufacturer warranty or requires advanced physical repairs, we strongly recommend consulting a certified technician or an authorized service center.